
[TOC]
## drawImage() 方法
drawImage() 方法一般有三种调用方式
- drawImage(image, dx, dy)
- drawImage(image, dx, dy, dw, dh)
- drawImage(image, sx, sy, sw, sh, dx, dy, dw, dh)
## 平铺图片
在 Canvas 中,我们可以使用 createPattern() 方法来定义图片的平铺方式
语法:
```js
var pattern = cxt.createPattern(image, type)
cxt.fillStyle = pattern
cxt.fillRect()
```
参数 image 表示被平铺的图像,type 表示图像平铺的方式,其可选值如下:
| 属性值 | 说明 |
| --- | --- |
| repeat | 默认值,在水平方向和垂直方向同时平铺 |
| repeat-x | 只在水平方向平铺 |
| repeat-y | 只在垂直方向平铺 |
| no-repeat | 只显示一次(不平铺) |
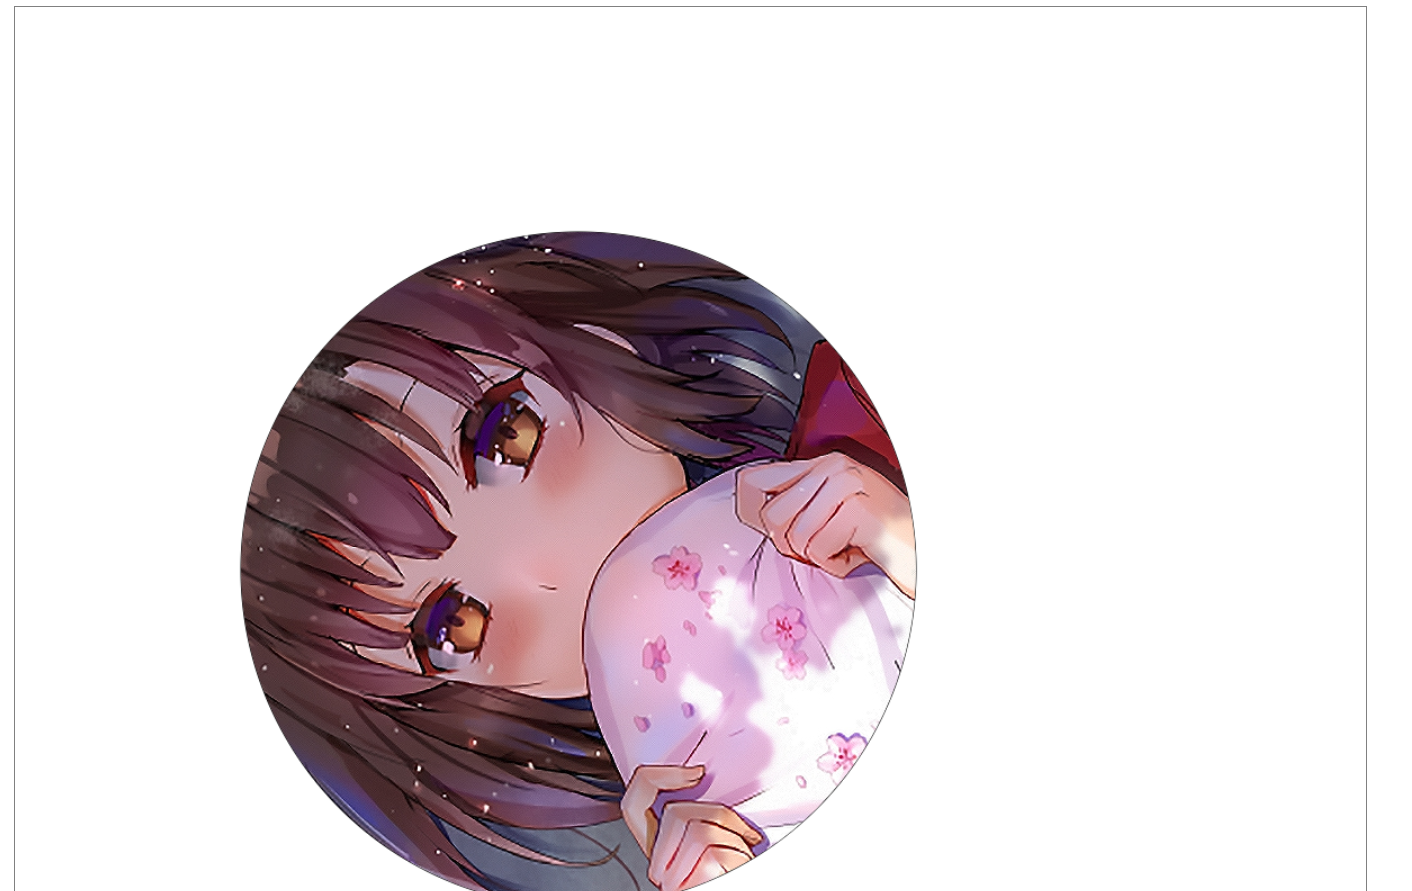
## 切割图片
可以使用 clip() 方法来切割 Canvas 中绘制的图片
```html
<!DOCTYPE html>
<html lang="en">
<head>
<meta charset="UTF-8">
<title>Title</title>
</head>
<body>
<canvas id="canvas" style="margin:0px auto; border: 1px solid gray; display: block;margin: 10px auto;">
当前浏览器不支持Canvas
</canvas>
<script>
window.onload = function () {
const cnv = document.getElementById('canvas')
const cxt = cnv.getContext('2d')
cnv.width = 1200;
cnv.height = 800;
// 第 1 步,绘制基本图形,用于切割
cxt.beginPath()
cxt.arc(500, 500, 300, 0, 360 * Math.PI / 180, true)
cxt.closePath()
cxt.stroke()
// 第 2 步,使用 clip() 方法,使得切割区域为上面绘制的基本图形
cxt.clip()
// 第 3 步,绘制一张图片
let image = new Image()
image.src = "./1.jpg"
image.onload = function () {
cxt.drawImage(image, 0, 0)
}
}
</script>
</body>
</html>
```
- 序言 & 更新日志
- H5
- Canvas
- 序言
- Part1-直线、矩形、多边形
- Part2-曲线图形
- Part3-线条操作
- Part4-文本操作
- Part5-图像操作
- Part6-变形操作
- Part7-像素操作
- Part8-渐变与阴影
- Part9-路径与状态
- Part10-物理动画
- Part11-边界检测
- Part12-碰撞检测
- Part13-用户交互
- Part14-高级动画
- CSS
- SCSS
- codePen
- 速查表
- 面试题
- 《CSS Secrets》
- SVG
- 移动端适配
- 滤镜(filter)的使用
- JS
- 基础概念
- 作用域、作用域链、闭包
- this
- 原型与继承
- 数组、字符串、Map、Set方法整理
- 垃圾回收机制
- DOM
- BOM
- 事件循环
- 严格模式
- 正则表达式
- ES6部分
- 设计模式
- AJAX
- 模块化
- 读冴羽博客笔记
- 第一部分总结-深入JS系列
- 第二部分总结-专题系列
- 第三部分总结-ES6系列
- 网络请求中的数据类型
- 事件
- 表单
- 函数式编程
- Tips
- JS-Coding
- Framework
- Vue
- 书写规范
- 基础
- vue-router & vuex
- 深入浅出 Vue
- 响应式原理及其他
- new Vue 发生了什么
- 组件化
- 编译流程
- Vue Router
- Vuex
- 前端路由的简单实现
- React
- 基础
- 书写规范
- Redux & react-router
- immutable.js
- CSS 管理
- React 16新特性-Fiber 与 Hook
- 《深入浅出React和Redux》笔记
- 前半部分
- 后半部分
- react-transition-group
- Vue 与 React 的对比
- 工程化与架构
- Hybird
- React Native
- 新手上路
- 内置组件
- 常用插件
- 问题记录
- Echarts
- 基础
- Electron
- 序言
- 配置 Electron 开发环境 & 基础概念
- React + TypeScript 仿 Antd
- TypeScript 基础
- React + ts
- 样式设计
- 组件测试
- 图标解决方案
- Storybook 的使用
- Input 组件
- 在线 mock server
- 打包与发布
- Algorithm
- 排序算法及常见问题
- 剑指 offer
- 动态规划
- DataStruct
- 概述
- 树
- 链表
- Network
- Performance
- Webpack
- PWA
- Browser
- Safety
- 微信小程序
- mpvue 课程实战记录
- 服务器
- 操作系统基础知识
- Linux
- Nginx
- redis
- node.js
- 基础及原生模块
- express框架
- node.js操作数据库
- 《深入浅出 node.js》笔记
- 前半部分
- 后半部分
- 数据库
- SQL
- 面试题收集
- 智力题
- 面试题精选1
- 面试题精选2
- 问答篇
- 2025面试题收集
- Other
- markdown 书写
- Git
- LaTex 常用命令
- Bugs