
## 目录
*****
[TOC]
*****
### 一、前言
项目: Vue、SpringBoot
环境
~~~yaml
JDK 1.8
Mysql 5.7.35
~~~
### 二、Docker
#### 1、其他换环境安装
##### 安装GIT
1. 运行`sudo apt install -y git`
##### 安装Maven
1. 安装`sudo apt install -y maven`
2. 查看版本信息 `mvn -v`

3. 修改镜像源 (可不配置,默认为国外,下载较慢)
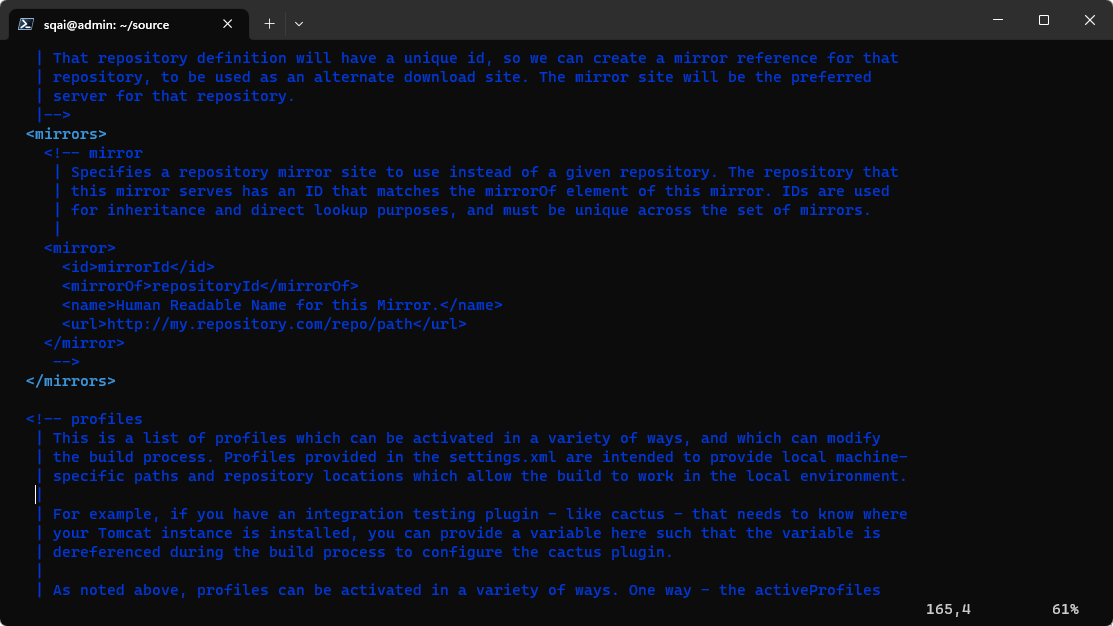
运行 `sudo vi /usr/share/maven/conf/settings.xml`,进入配置文件。
](images/screenshot_1681454155486.png)
将原‘’标签中的内容替换为:
~~~xml
<mirrors>
<mirror>
<id>alimaven</id>
<name>aliyun maven</name>
<url>http://maven.aliyun.com/nexus/content/groups/public/</url>
<mirrorOf>central</mirrorOf>
</mirror>
</mirrors>
~~~
##### 安装Node
~~~shell
sudo apt install -y nodejs
sudo apt install -y npm
npm install -g yarn
#设置镜像
yarn config set registry https://registry.npm.taobao.org --global
yarn config set disturl https://npm.taobao.org/dist --global
yarn config set sass_binary_site http://cdn.npm.taobao.org/dist/node-sass --global
~~~
##### 安装Nginx
1. 安装 `sudo apt install -y nginx`
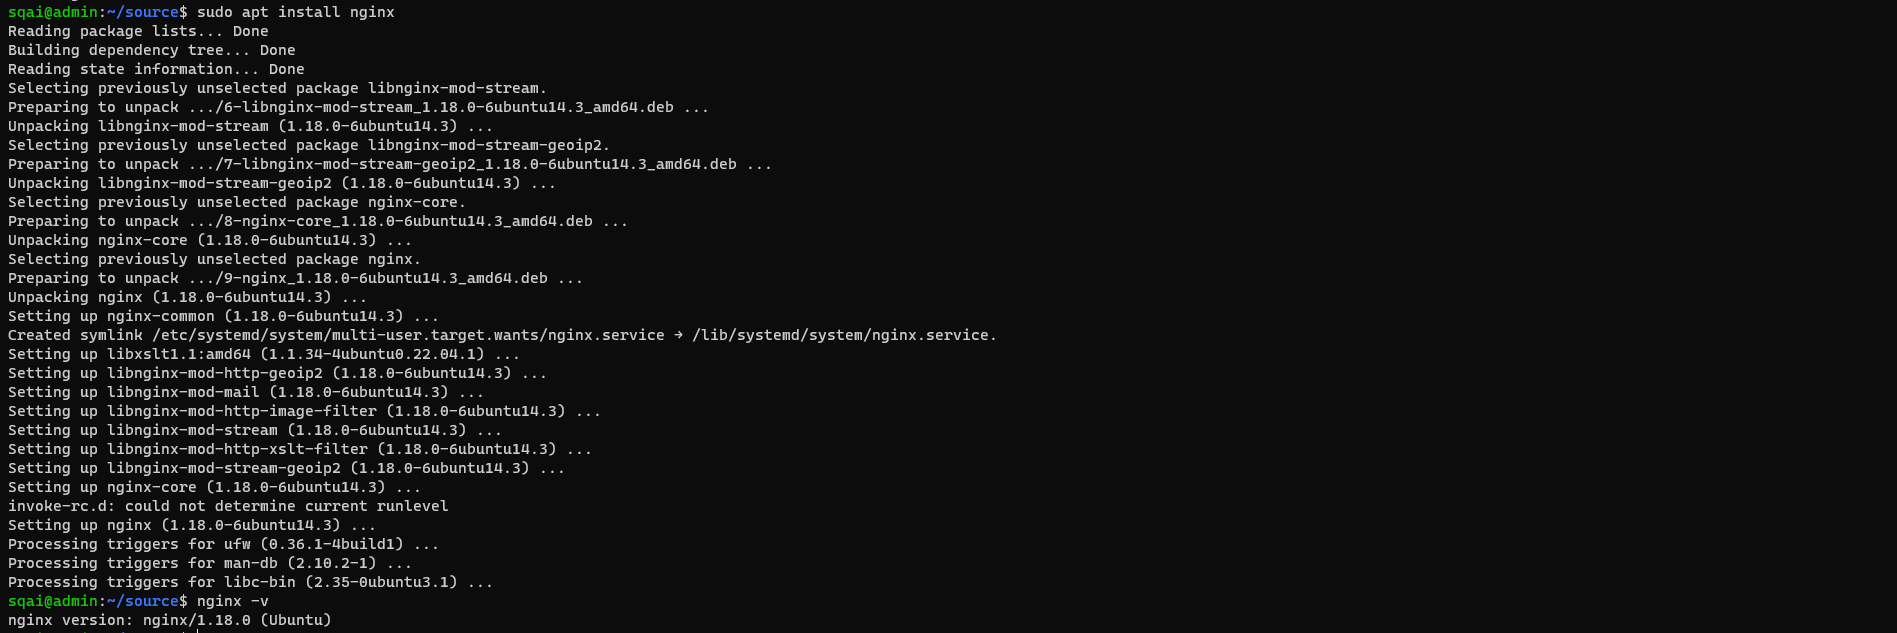
2. 启动 `sudo service nginx start`
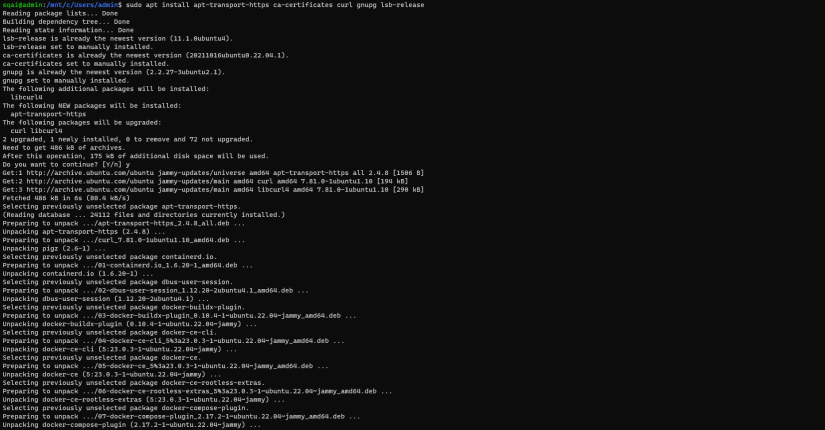
#### 2、Docker 环境搭建
##### Docker安装
~~~makefile
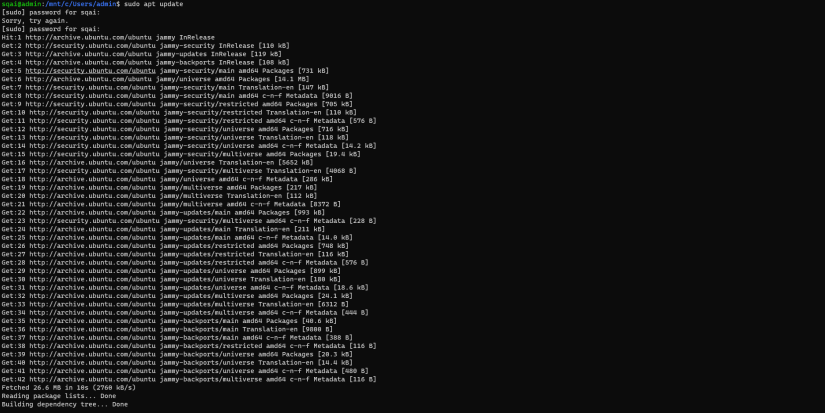
#更新包管理器
sudo apt update
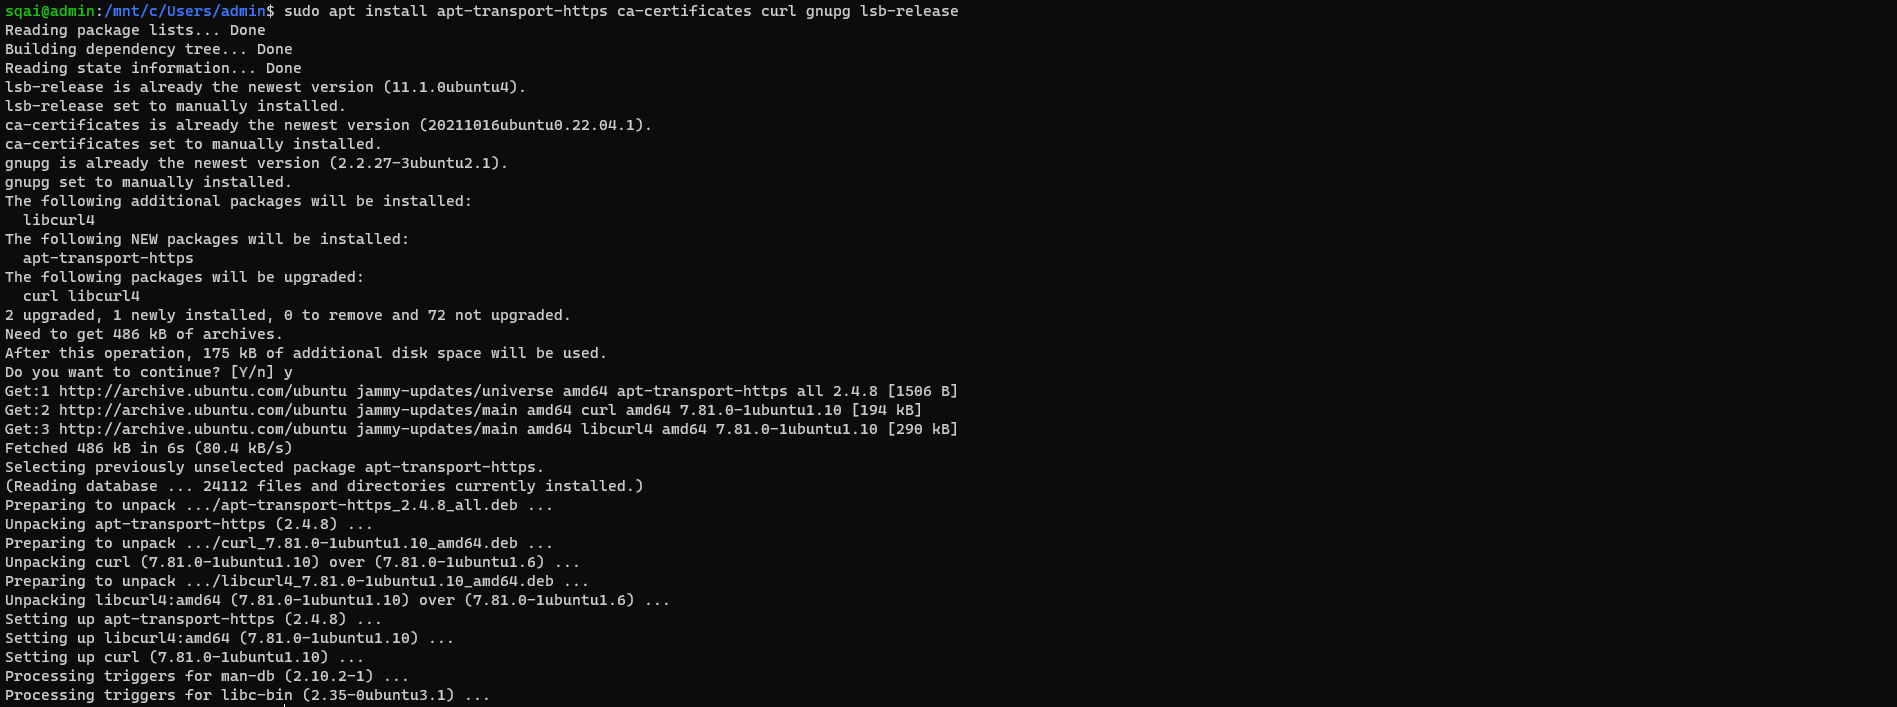
#安装 Docker 的依赖包
sudo apt install apt-transport-https ca-certificates curl gnupg lsb-release
#添加 Docker GPG 密钥 [官方]
curl -fsSL https://download.docker.com/linux/ubuntu/gpg | sudo gpg --dearmor -o /usr/share/keyrings/docker-archive-keyring.gpg
#添加 Docker apt 仓库 [官方]
echo "deb [arch=amd64 signed-by=/usr/share/keyrings/docker-archive-keyring.gpg] https://download.docker.com/linux/ubuntu $(lsb_release -cs) stable" | sudo tee /etc/apt/sources.list.d/docker.list > /dev/null
#更新 apt 缓存
sudo apt update
#安装 Docker
sudo apt install docker-ce docker-ce-cli containerd.io
#启动 Docker 服务
sudo systemctl start docker | sudo service docker start
#注:如下载速度慢可更换成阿里云镜像源
#添加阿里云 Docker 镜像源 GPG 密钥
curl -fsSL https://mirrors.aliyun.com/docker-ce/linux/ubuntu/gpg | sudo gpg --dearmor -o /usr/share/keyrings/docker-archive-keyring.gpg
#添加阿里云 Docker 镜像源
echo "deb [arch=amd64 signed-by=/usr/share/keyrings/docker-archive-keyring.gpg] https://mirrors.aliyun.com/docker-ce/linux/ubuntu $(lsb_release -cs) stable" | sudo tee /etc/apt/sources.list.d/docker.list > /dev/null
~~~
默认情况下,docker 命令会使用 Unix socket 与 Docker 引擎通讯。而只有 root 用户和 docker 组的用户才可以访问 Docker 引擎的 Unix socket。出于安全考虑,一般 Linux 系统上不会直接使用 root 用户。因此,更好地做法是将需要使用 docker 的用户加入 docker 用户组
将当前用户加入 docker 组:`usermod -aG docker $USER`
图一
图二
图三

图四
##### docker-compose环境
1. 安装docker-compose
~~~makefile
#安装docker-compose
curl -L https://github.com/docker/compose/releases/download/v2.17.2/docker-compose-linux-x86_64 > /usr/local/bin/docker-compose
#授权
sudo chmod +x /usr/local/bin/docker-compose
#检测版本号
docker-compose -v
~~~
2. 环境搭建
~~~shell
cd /home/sqai/source
# 下载脚本
git clone https://gitee.com/zzdevelop/lenosp-docker.git
cd lenosp-docker
# 运行脚本
docker-compose up -d
~~~
3. 校验`docker ps`。( 查看进程是否启动,如果反复启动的程序,可以使用`docker logs` 镜像id 查看日志)
#### 3、部署程序
##### 后端部署
###### 下载项目
~~~shell
cd /home/sqai/source
git clone https://gitee.com/zzdevelop/lenosp.git
~~~
###### 编辑运行脚本
1. 创建脚本文件 `touch start-api.sh`
2. 编辑文件
~~~shell
#版本 注意,需要跟随版本号进行调整
version=2.0
#代码目录
code_path=/home/sqai/source/lenosp
#运行目录
run_path=/home/sqai/source/api/
mkdir -p ${code_path}
mkdir -p ${run_path}
cd ${code_path}
git checkout master
git pull
mvn clean install -DskipTests
ps -ef |grep java |grep lenosp |grep -v 'grep'|awk '{print $2}' | xargs kill -9
rm -rf ${run_path}*.jar
mv ${code_path}/len-web/target/len-web.jar ${run_path}
cd ${run_path}
mkdir logs
nohup java -Xmx1024m -Xms1024m -Xss512K -jar len-web.jar >/dev/null 2>logs/lenosp.out &
~~~
* \-Xmx1024m:设置JVM最大可用内存为1024M.
* \-Xms1024m:设置JVM促使内存为1024m.此值可以设置与-Xmx相同,以避免每次垃圾回收完成后JVM重新分配内存.
* \-Xss512K ## 设置每个线程的堆栈大小512K 。JDK5.0以后每个线程堆栈大小为1M,以前每个线程堆栈大小为256K。更具应用的线程所需内存大小进行调整。在相同物理内存下,减小这个值能生成更多的线程。但是操作系统对一个进程内的线程数还是有限制的,不能无限生成,经验值在3000~5000左右,所以根据这个规则可以合理设置自己本机的-Xss
###### 执行脚本
~~~shell
chmod +x start-api.sh
sh start-api.sh
~~~
1. 如果执行报错,请检查JDK版本
2. 查看jdk版本`java -version`

3. 查看maven依赖的jdk版本 `mvn -v`

4. 如果如同种所示 Java version:11.0.18版,执行以下操作:
~~~shell
#卸载自带的JDK11
sudo apt-get autoremove openjdk-11-jre-headless
#安装JDK 1.8
sudo apt-get install openjdk-8-jdk
~~~

##### 前端部署
###### 下载项目
~~~shell
cd /home/sqai/source
git clone https://gitee.com/zzdevelop/lenosp.git
~~~
###### 编辑脚本
1. 创建脚本文件 `touch start-ui.sh`
2. 编辑文件
~~~yaml
#代码目录
code_path=/home/sqai/source/ui
cd ${code_path}
git checkout master
git pull
cd ${code_path}/
npm install
npm build
~~~
###### 执行脚本
~~~yaml
chmod +x start-ui.sh
sh start-ui.sh
~~~
###### 配置nginx
* 配置文件统一放在 `/etc/nginx/modules-available` 目录下。配置文件名格式为 域名.conf,如:www.baidu.com.conf
1. 创建配置文件 localhost.conf
~~~makefile
cd /etc/nginx/modules-available
touch localhost.conf
~~~
2. 编辑配置文件
~~~nginx
#将user指令注释掉,或者配置成nobody的话所有用户都可以运行
#user nobody nobody;
# 指定工作线程数,可以制定具体的进程数,也可使用自动模式,这个指令只能在全局块配置
worker_processes auto;
# 指定pid文件存放的路径,这个指令只能在全局块配置
pid /run/nginx.pid;
# 指定错误日志的路径和日志级别,此指令可以在全局块、http块、server块以及location块中配置。
error_log /var/log/nginx/lenosp_error.log info;
# events块涉及的指令主要影响Nginx服务器与用户的网络连接。
events {
# 设置允许每一个worker process同时开启的最大连接数,当每个工作进程接受的连接数超过这个值时将不再接收连接
# 当所有的工作进程都接收满时,连接进入logback,logback满后连接被拒绝
worker_connections 1024;
}
http {
# log_format指令,用于定义日志格式,此指令只能在http块中进行配置
log_format main '$remote_addr - $remote_user [$time_local] "$request" '
'$status $body_bytes_sent "$http_referer" '
'"$http_user_agent" "$http_x_forwarded_for"';
# access_log配置,此指令可以在http块、server块或者location块中进行设置
# 在全局块中,我们介绍过errer_log指令,其用于配置Nginx进程运行时的日志存放和级别,此处所指的日志与常规的不同,它是指记录Nginx服务器提供服务过程应答前端请求的日志
access_log /var/log/nginx/lenosp_access.log main;
#开启高效文件传输模式,sendfile指令指定nginx是否调用sendfile函数来输出文件,对于普通应用设为 on,如果用来进行下载等应用磁盘IO重负载应用,可设置为off,以平衡磁盘与网络I/O处理速度,降低系统的负载。注意:如果图片显示不正常把这个改成off。
#sendfile指令指定 nginx 是否调用sendfile 函数(zero copy 方式)来输出文件,对于普通应用,必须设为on。如果用来进行下载等应用磁盘IO重负载应用,可设置为off,以平衡磁盘与网络IO处理速度,降低系统uptime。
sendfile on;
#此选项允许或禁止使用socke的TCP_CORK的选项,此选项仅在使用sendfile的时候使用
tcp_nopush on;
tcp_nodelay on;
# 配置连接超时时间,服务器端对连接的保持时间。默认值为75s;
keepalive_timeout 65;
types_hash_max_size 2048;
proxy_hide_header X-Powered-By;
proxy_hide_header Server;
gzip on; # 开启gzip
gzip_buffers 4 16k; #压缩缓冲区
gzip_min_length 1k; # 启用gzip压缩的最小文件;小于设置值的文件将不会被压缩
gzip_comp_level 2; # gzip 压缩级别 1-10
include /etc/nginx/mime.types;
default_type application/octet-stream;
#lenosp-ui
server {
#监听端口
listen 8082;
#域名可以有多个,用空格隔开
server_name localhost;
location / {
try_files $uri $uri/ /index.html;
root /home/sqai/source/lenosp-ui/dist;
}
}
#lenosp-api
server {
listen 80;
proxy_set_header Host $host;
proxy_set_header X-Real-IP $remote_addr;
proxy_set_header REMOTE-HOST $remote_addr;
proxy_set_header X-Forwarded-For $proxy_add_x_forwarded_for;
server_name localhost;
location / {
#后端的Web服务器可以通过X-Forwarded-For获取用户真实IP
proxy_set_header X-Forwarded-For $proxy_add_x_forwarded_for;
proxy_pass http://127.0.0.1:8081;
}
error_page 500 502 503 504 /50x.html;
location = /50x.html {
root html;
}
}
}
~~~
3. 启动nginx `sudo nginx -t -c /etc/nginx/modules-available/localhost.conf`
其中 `/etc/nginx/modules-available/localhost.conf` 为配置文件位置
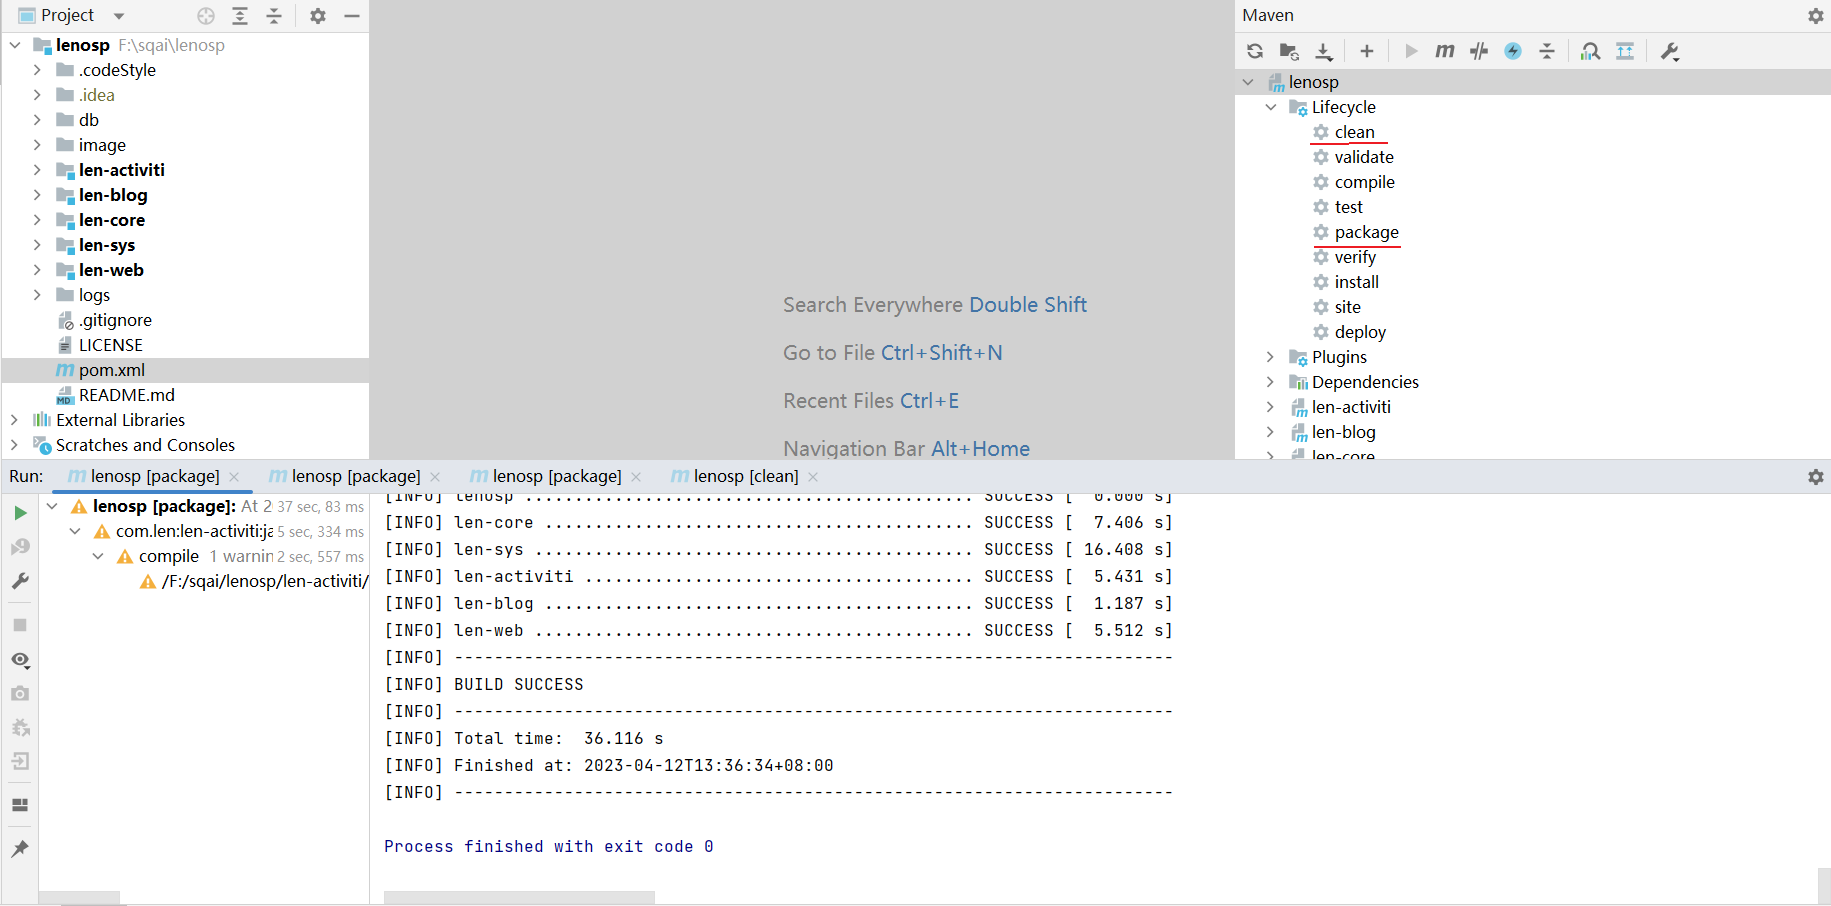
### 三、手动打包
#### 后端部署
1. 项目编译打包。
1. 如图依次执行 mvn clean、mvn package命令。
2. 上传打包后的len-web.jar文件到服务器,如上传到服务器`/home/sqai/api`目录下
3. 运行
~~~shell
cd /home/sqai/source/api
nohup java -Xmx1024m -Xms1024m -Xss512K -jar len-web.jar >/dev/null 2>logs/lenosp.out &
~~~
#### 前端
1. 编译项目,在控制台中输入`npm run build`。如一切正常,可在当前项目下dist目录中查看编译后的文件。
2. 将`dist`文件上传到服务器,这里将dist文件夹上传至服务器中的 `/home/sqai/source/ui`目录下。
3. [配置Nginx](https://www.kancloud.cn/book/zhuxm/zzdevelop/edit#nginx_252)
4. 在浏览器中访问您的应用程序域名,如果一切正常,您应该可以看到您的 Vue 应用程序。
请注意,以上步骤仅适用于单个应用
程序。如果您正在部署多个 Vue 应用程序,您需要为每个应用程序创建一个 Ngnix 配置文件,并配置 Ngnix 以代理到每个应用程序的入口点。
#### SSL
如果您使用了自己的域名 www.sqai.com 并且需要使用 SSL 证书,您可以按照以下步骤配置 Nginx:
1. 安装 SSL 证书:如果您还没有 SSL 证书,您需要先购买一个 SSL 证书。如:阿里云。
2. 配置 Nginx
~~~nginx
http {
server {
listen 443 ssl http2;
# 证书
ssl_certificate /etc/letsencrypt/live/www.sqai.com/cert.pem;
# 私钥
ssl_certificate_key /etc/letsencrypt/live/www.sqai.com/privkey.pem;
# SSL 协议版本
ssl_protocols TLSv1 TLSv1.1 TLSv1.2;
ssl_session_cache shared:SSL:10m; # 1m 4000个,
ssl_session_timeout 1h; # 1小时过期
ssl_prefer_server_ciphers on;
ssl_ciphers ECDH+AESGCM:ECDH+AES256:ECDH+AES128:DHE+AES128:!ADH:!AECDH:!MD5;
# 自己的域名
server_name www.sqai.com;
try_files $uri $uri/ /index.html;
root /home/source/lilishop-ui/seller/dist;
}
}
~~~
请注意,您需要将 **www.sqai.com** 替换为您自己的域名,并将 **cert.pem** 和 **privkey.pem** 替换为您购买的 SSL 证书的主证书和私钥。
### 参考文档
1. [lilishop系统说明文档](https://docs.pickmall.cn/)
2. [手把手通过Docker部署前后端分离项目](https://blog.csdn.net/HJW_233/article/details/126450317)
3. [Maven搭建](https://blog.csdn.net/qq_33499232/article/details/112169631)
4. [Nginx配置详解](https://www.cnblogs.com/54chensongxia/p/12938929.html#:~:text=Nginx%E9%85%8D%E7%BD%AE%E6%96%87%E4%BB%B6%E8%AF%A6%E8%A7%A3%201%20events%E5%9D%97%20events%E5%9D%97%E6%B6%89%E5%8F%8A%E7%9A%84%E6%8C%87%E4%BB%A4%E4%B8%BB%E8%A6%81%E5%BD%B1%E5%93%8DNginx%E6%9C%8D%E5%8A%A1%E5%99%A8%E4%B8%8E%E7%94%A8%E6%88%B7%E7%9A%84%E7%BD%91%E7%BB%9C%E8%BF%9E%E6%8E%A5%E3%80%82%20%E5%B8%B8%E7%94%A8%E5%88%B0%E7%9A%84%E8%AE%BE%E7%BD%AE%E5%8C%85%E6%8B%AC%E6%98%AF%E5%90%A6%E5%BC%80%E5%90%AF%E5%AF%B9%E5%A4%9Aworker%20process%E4%B8%8B%E7%9A%84%E7%BD%91%E7%BB%9C%E8%BF%9E%E6%8E%A5%E8%BF%9B%E8%A1%8C%E5%BA%8F%E5%88%97%E5%8C%96%EF%BC%8C%E6%98%AF%E5%90%A6%E5%85%81%E8%AE%B8%E5%90%8C%E6%97%B6%E6%8E%A5%E6%94%B6%E5%A4%9A%E4%B8%AA%E7%BD%91%E7%BB%9C%E8%BF%9E%E6%8E%A5%EF%BC%8C%E9%80%89%E5%8F%96%E5%93%AA%E7%A7%8D%E4%BA%8B%E4%BB%B6%E9%A9%B1%E5%8A%A8%E6%A8%A1%E5%9E%8B%E5%A4%84%E7%90%86%E8%BF%9E%E6%8E%A5%E8%AF%B7%E6%B1%82%EF%BC%8C%E6%AF%8F%E4%B8%AAworker%20process%E5%8F%AF%E4%BB%A5%E5%90%8C%E6%97%B6%E6%94%AF%E6%8C%81%E7%9A%84%E6%9C%80%E5%A4%A7%E8%BF%9E%E6%8E%A5%E6%95%B0%E7%AD%89%E3%80%82%20%E8%BF%99%E4%B8%80%E9%83%A8%E5%88%86%E7%9A%84%E6%8C%87%E4%BB%A4%E5%AF%B9Nginx%E6%9C%8D%E5%8A%A1%E5%99%A8%E7%9A%84%E6%80%A7%E8%83%BD%E5%BD%B1%E5%93%8D%E8%BE%83%E5%A4%A7%EF%BC%8C%E5%9C%A8%E5%AE%9E%E9%99%85%E9%85%8D%E7%BD%AE%E4%B8%AD%E5%BA%94%E8%AF%A5%E6%A0%B9%E6%8D%AE%E5%AE%9E%E9%99%85%E6%83%85%E5%86%B5%E7%81%B5%E6%B4%BB%E8%B0%83%E6%95%B4%E3%80%82,3%20server%E5%9D%97%20server%E5%9D%97%E5%92%8C%E2%80%9C%E8%99%9A%E6%8B%9F%E4%B8%BB%E6%9C%BA%E2%80%9D%E7%9A%84%E6%A6%82%E5%BF%B5%E6%9C%89%E5%AF%86%E5%88%87%E8%81%94%E7%B3%BB%E3%80%82%20...%204%20location%E5%9D%97%20%E6%AF%8F%E4%B8%AAserver%E5%9D%97%E4%B8%AD%E5%8F%AF%E4%BB%A5%E5%8C%85%E5%90%AB%E5%A4%9A%E4%B8%AAlocation%E5%9D%97%E3%80%82%20)
5. [Nginx安装配置](https://blog.csdn.net/zyf_smile/article/details/119998842)
6. [Nginx安装配置2](https://developer.aliyun.com/article/759280)
7. [Nginx安装配置3](https://www.cnblogs.com/fengkun125/p/14142912.html)
- 郑州程序员组织简介
- 组织期望
- 组织计划
- 组织细则
- 组织问题
- lenosp
- 简介
- 任务
- 本地开发
- 部署篇章
- 如何提交PR?
- 部署启动lenosp
- 工具集
- 问题记录
- freemarker 找不到模板
- div改为iframe
- 会议记录
- 郑州程序员开源组织-组织介绍和计划
- 2023-04-01郑州程序员组织,成员会议讨论内容
- 郑州程序员开源组织第一期里程碑会议
- 2023-04-08 成员讨论内容
- 知识库
- 里程碑教程
- 组织管理人员和成员规范
- idea使用阿里代码格式
- idea2023.1 pojie
- 测试Pull Request
- idea使用阿里代码约束检查
- 提交代码规范
- 组织成员约束
- 里程碑
- 代码生成
- 工作流引擎
- 功能模块
- 多数据源
- 国密支持