
#### 三、更改 Nginx 配置文件实现端口转发
1. 打开第二步中创建的 File Browser 网站([公网ip:端口]()),账号密码为 **admin/admin**,登录到 File Browser;
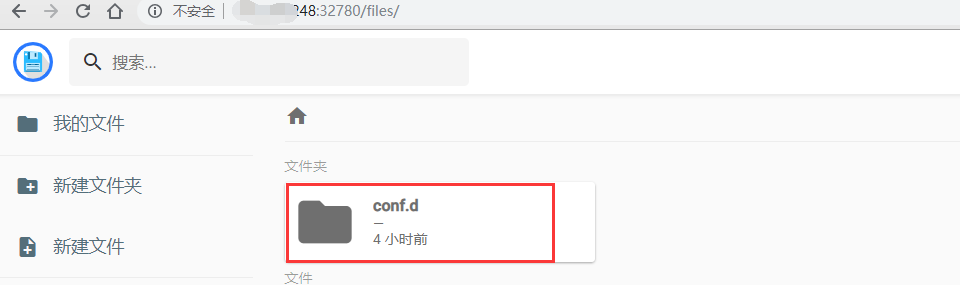
2. 进入 **conf.d** 目录,双击 **default.conf** 文件,将原来的配置删除,修改为如下图所示内容:
~~~
upstream wordpress {
server 159.138.6.145:32773;
}
server {
listen 80;
server_name test.example.top;
location / {
proxy_pass http://wordpress;
proxy_set_header Host $host;
proxy_set_header X-Real-IP $remote_addr;
proxy_set_header X-Forwarded-For $proxy_add_x_forwarded_for;
proxy_set_header Via "nginx";
}
}
~~~
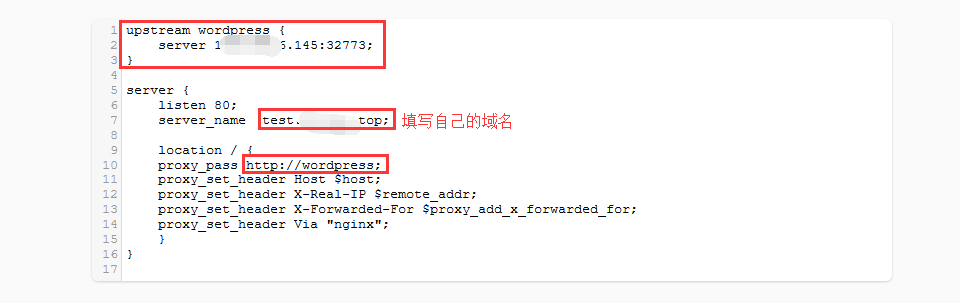
>[danger] 注意:请将 **server_name** 改为自己的域名,**proxy_pass** 改为自己网站容器的 **IP:端口号**
3. 到容器列表重启 Nginx 容器,现在就可以在浏览器地址栏输入域名直接访问自己的网站了。

> 修改完 Nginx 的配置文件后,File Browser 容器可选择继续保留使用或删除。
- 关于本书
- 获取一键安装包
- Docker
- Container-运行时的操作系统
- 网络和端口
- 镜像
- 固定存储
- 常见命令
- 范例:如何安装可视化工具Portainer
- 范例:如何安装MySQL并开启远程访问?
- 可视化面板-Portainer
- Portainer快速使用
- Portainer范例:如何安装WordPress
- 部署WordPress容器
- 部署MySQL数据库的两种方法
- 安装WordPress
- Portainer实用教程
- Portainer如何使用 Nginx 容器实现端口转发?
- 安装Nginx容器
- 安装File Browser容器
- 配置Nginx实现端口转发
- Portainer如何绑定域名?
- Portainer如何发送邮件?
- Portainer如何设置HTTPS?
- Portainer如何连接到容器内部运行命令?
- Portainer备份
- Portainer升级
- Portainer服务启停
- Portainer常见问题
- 附:常用账号与密码说明
- 域名管理
- 域名解析
- 域名绑定
- 云服务器操作
- Linux:登录与文件管理(SFTP)
- Windows:远程桌面与文件管理
- 安全组设置
- 快照备份
- 附:常见Linux命令操作
- 附:工具和术语