[TOC]
*****
# **安装 CentOS 7.7 64 位版**
<br >
## **安装 CentOS**
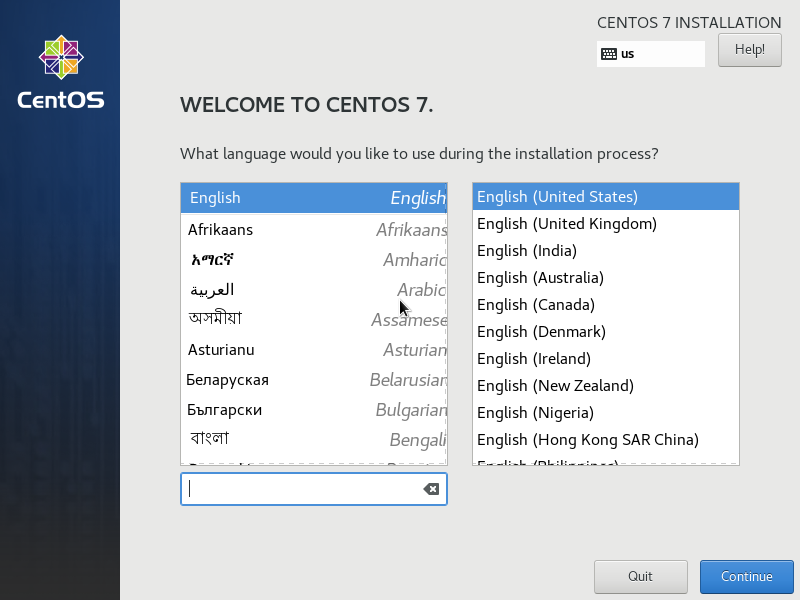
1. 进入 CentOS 安装程序。在 *WELCOME TO CENTOS 7* 界面,默认选择 *English* 作为安装过程使用的语言。
<br >
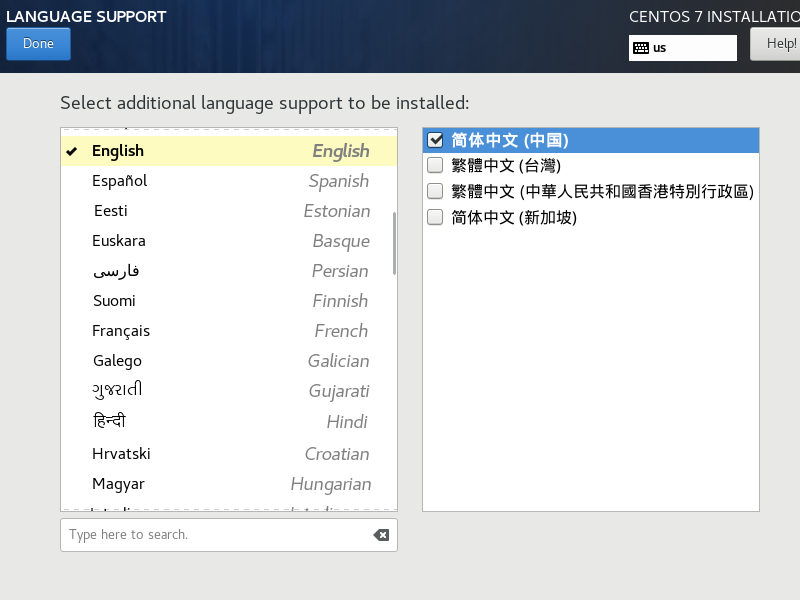
2. 在 *LANGUAGE SUPPORT* 界面,选择 *English* 和 *简体中文(中国)* 作为支持的语言。
<br >
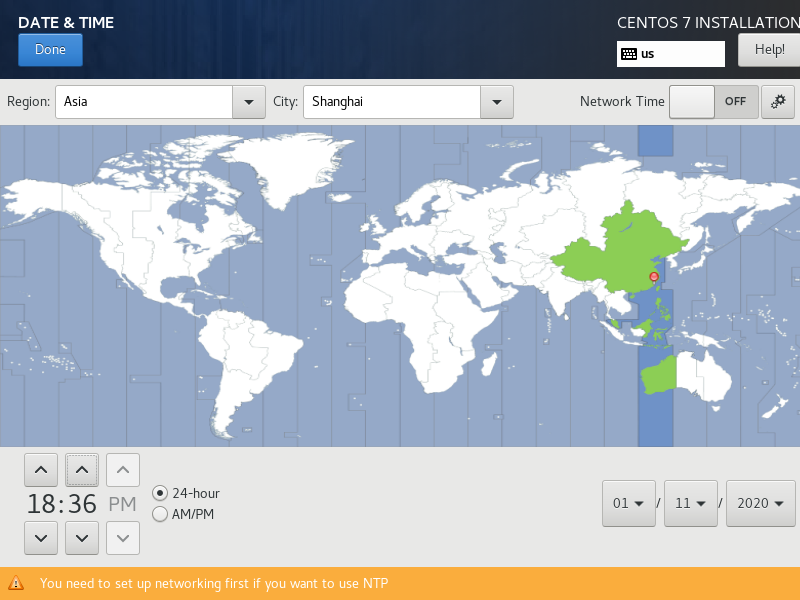
3. 在 *DATE & TIME* 界面,设置 *Region*、*City* 以及日期和时间。
<br >
4. 在 *INSTALLATION DESTINATION* 界面,默认选择 *I will configure partitioning* 自动分区配置。
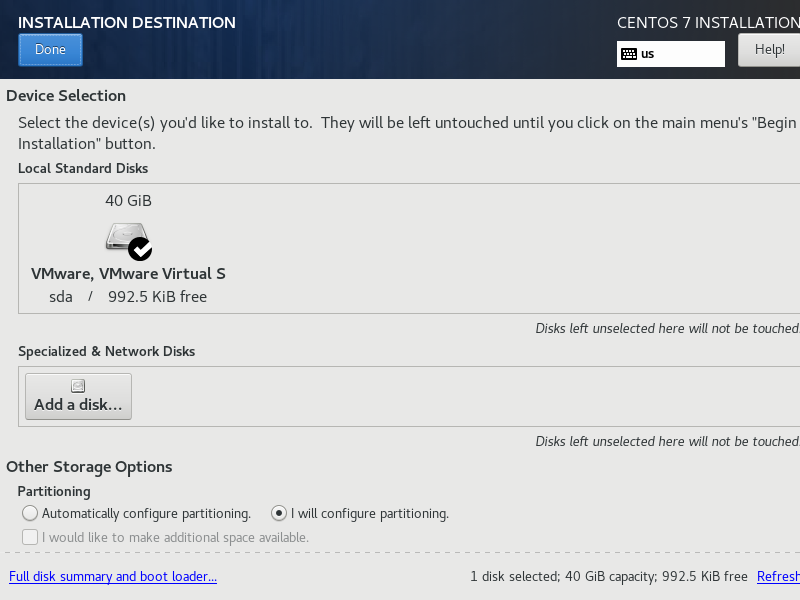
在 MANUAL PARTITIONING 界面,完成自定义分区:
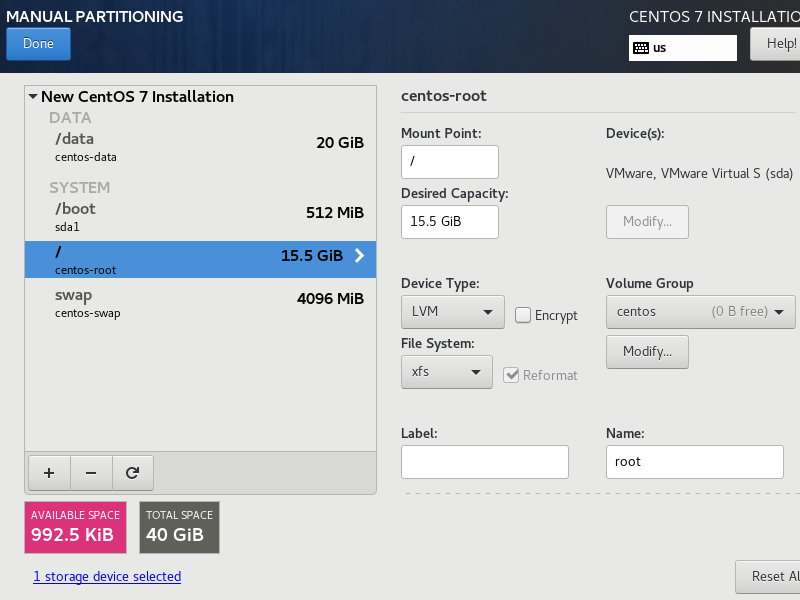
> swap 分区一般建议设置成内存的 1-2 倍,这里设置成内存的 1 倍。随后的调优部分会关闭 swap,这是很多使用磁盘的应用程序的常规调优手段。
> 新建一个独立的 data 分区,以便后续可以对特定分区进行调优。
> *File System* 使用默认的 *XFS*,XFS 通常有着更好的性能。这种性能的提升主要影响是 Kafka 的写入性能。根据官网的测试报告,使用 XFS 的写入时间大约是 160 毫秒,而使用 Ext4 大约是 250 毫秒。因此生产环境中最好使用 XFS 文件系统。
<br >
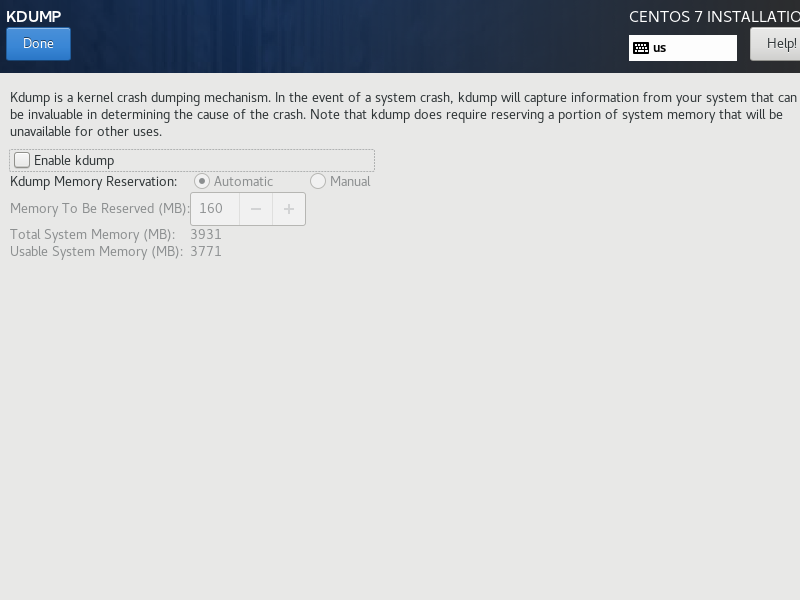
5. 在 *KDUMP* 界面,取消选中 *Enable kdump*。kdump 是在系统崩溃、死锁或者死机的时候用来转储内存运行参数的一个工具和服务,不需要分析内核崩溃原因的话,不用开启。
<br >
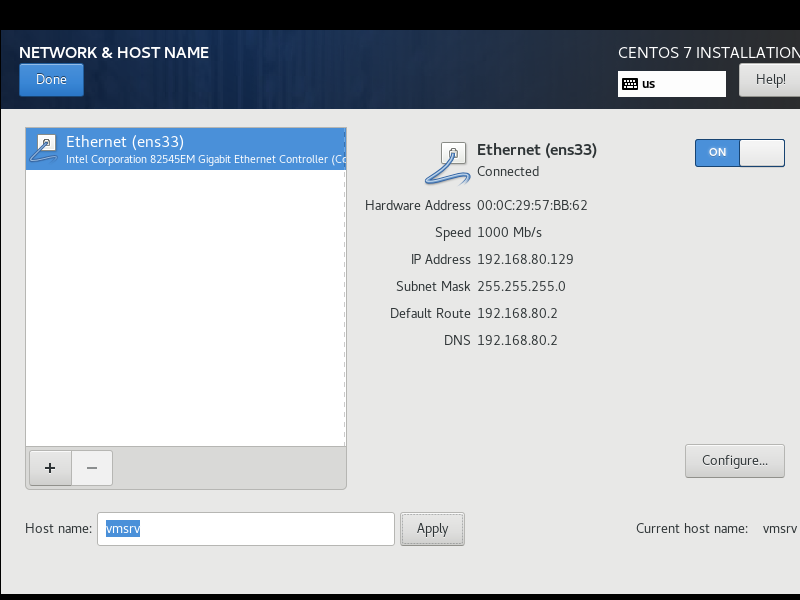
6. 在 *NETWORK & HOST NAME* 界面,配置网络和主机名。
将 *Host name* 设置成 *vmsrv*,点击 *Apply* 生效:

启用 *Ethernet(ens33)*:
点击 *Configure* 手动配置网络参数。在 *IPv4 Settings* 对话框,手动设置 IP 地址(为方便学员交流,开发环境统一设置为:192.168.80.81):
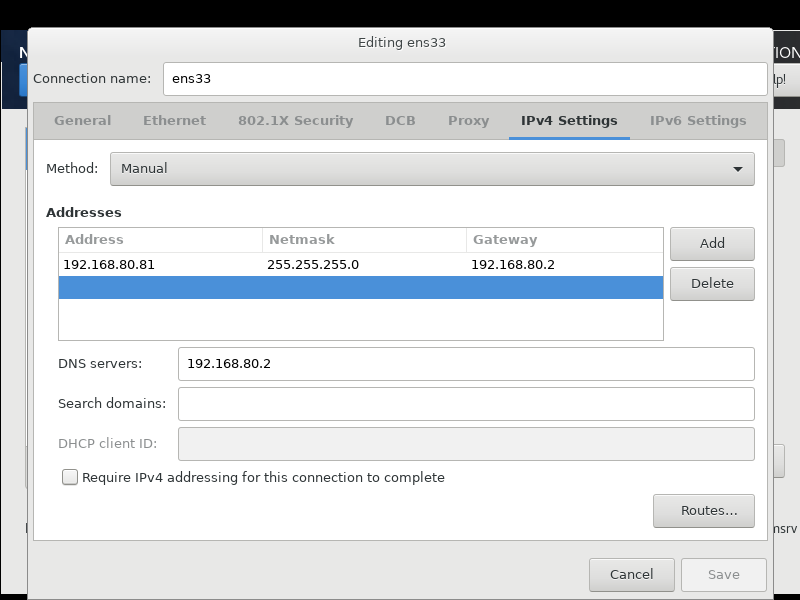
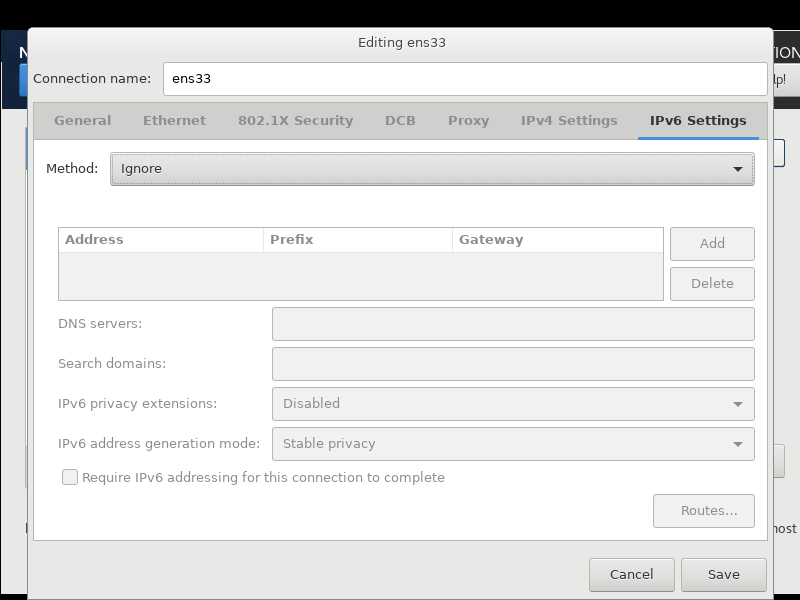
在 *IPv6 Settings* 对话框,将 *Method* 设置为 *Ignore*,禁用 IPv6:
回到 *NETWORK & HOST NAME* 界面:

<br >
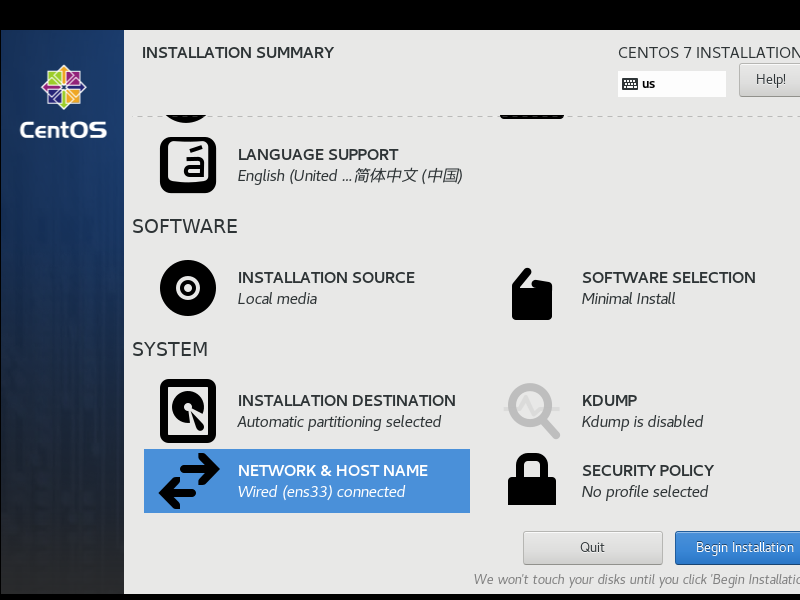
7. 在 *INSTALLATION SUMMARY* 界面,点击右下角的 *Begin Installation* 开始安装。
<br >
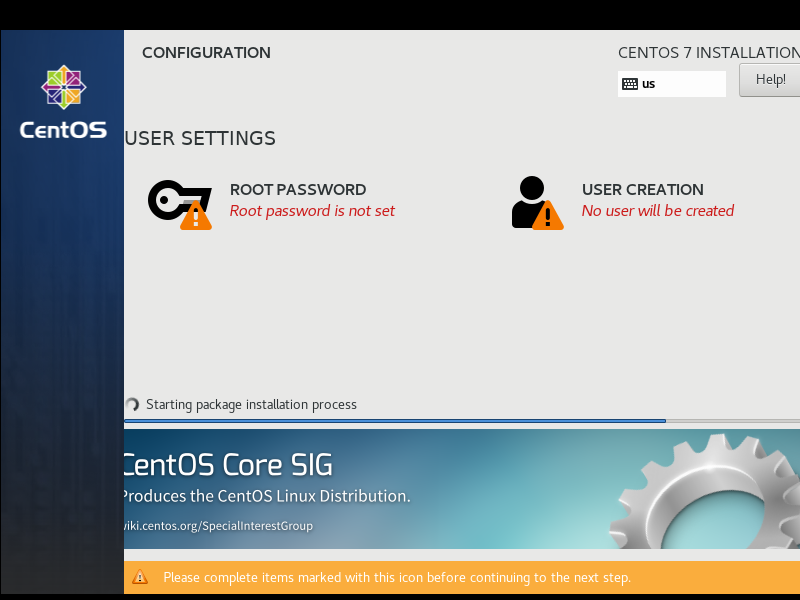
8. 进入 *CONFIGURATION* 界面,系统提示正在安装。
<br >
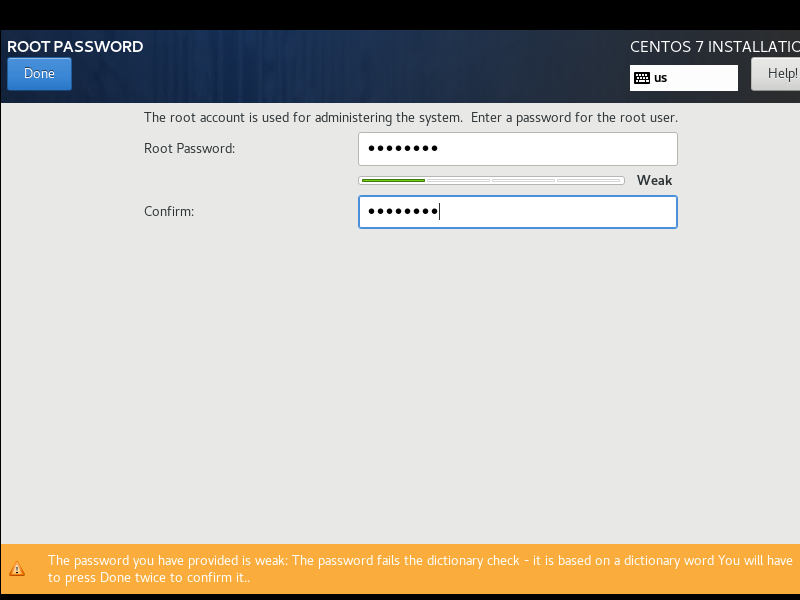
9. 在 *ROOT PASSWORD* 界面,输入 root 账号的密码:admin123(该文档为 Java Developer 系列,仅供开发参考。千万千万千万不要将你的生产环境也配置成此密码,否者你就等着被删库跑路吧),点击 *Done* 确定(一定要连续点击两次)
<br >
10. 回到 *CONFIGURATION* 界面,耐心等待(由于是最小化安装,一般不超过 10 分钟),直到安装进度显示 Complete,点击 *Reboot* 重启系统。

<br >
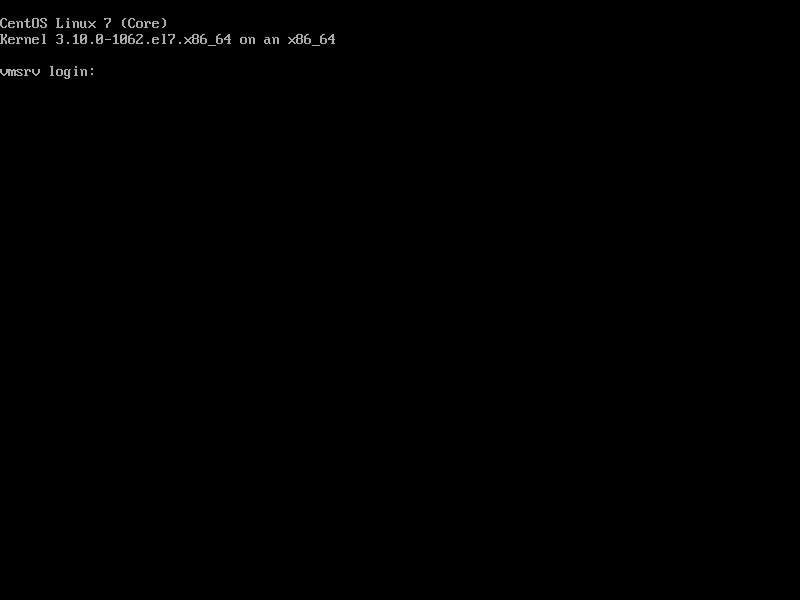
11. 耐心等待(一般不超过 10 秒钟),重启成功,系统显示登录对话框。
<br >
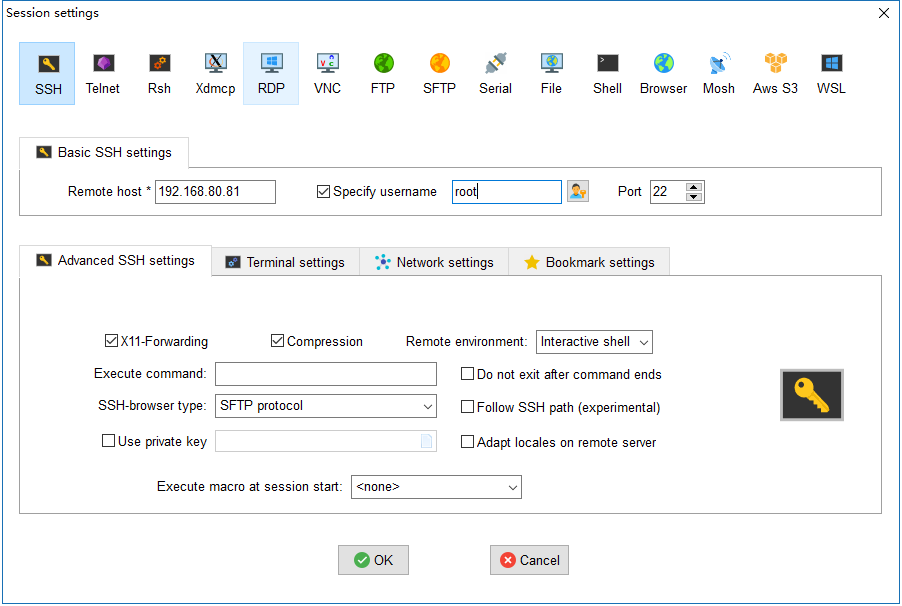
12. 运行 *MobaXterm*,新建一个 SSH 会话,使用 root 账号登录。
<br >
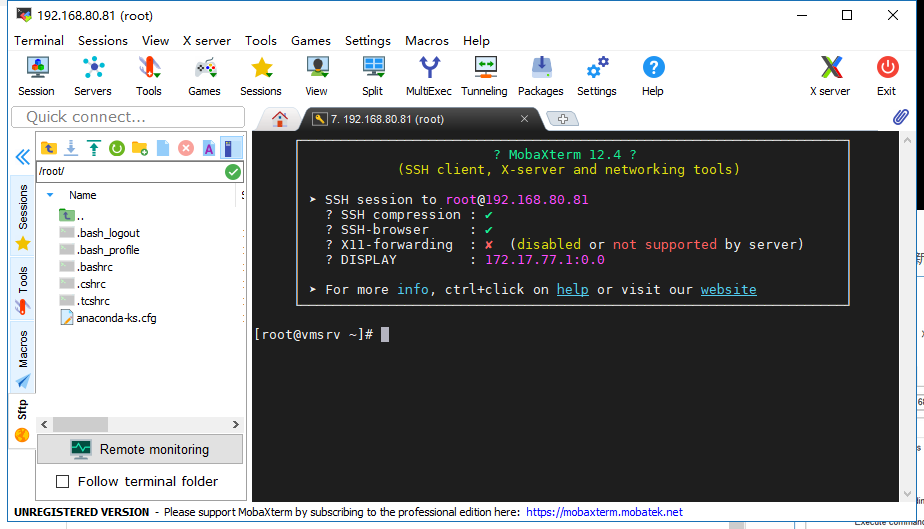
13. 打开会话,显示登录成功。在此,恭喜您,安装完成。
<br >
## **配置 CentOS**
### **关闭防火墙**
重要的事情说三遍,本系列是 Developer 系列,仅供开发人员参考,关闭防火墙只是为了方便,生产环境千万别这么干。
~~~
# systemctl stop firewalld
# systemctl disable firewalld
Removed symlink /etc/systemd/system/multi-user.target.wants/firewalld.service.
Removed symlink /etc/systemd/system/dbus-org.fedoraproject.FirewallD1.service.
~~~
<br >
### **配置国内 yum 源**
这里我们使用 [清华大学开源软件镜像站](https://mirrors.cnnic.cn/),感觉上华为的镜像不太稳定,经常出现超时的问题。
1. 打开 [CentOS 镜像使用帮助](https://mirrors.cnnic.cn/help/centos/)。
2. 根据建议,首先备份 CentOS-Base.repo。
~~~
# mv /etc/yum.repos.d/CentOS-Base.repo /etc/yum.repos.d/CentOS-Base.repo.bak
~~~
3. 编辑CentOS-Base.repo,`vi /etc/yum.repos.d/CentOS-Base.repo`,写入以下内容:
~~~
# CentOS-Base.repo
#
# The mirror system uses the connecting IP address of the client and the
# update status of each mirror to pick mirrors that are updated to and
# geographically close to the client. You should use this for CentOS updates
# unless you are manually picking other mirrors.
#
# If the mirrorlist= does not work for you, as a fall back you can try the
# remarked out baseurl= line instead.
#
#
[base]
name=CentOS-$releasever - Base
baseurl=https://mirrors.tuna.tsinghua.edu.cn/centos/$releasever/os/$basearch/
#mirrorlist=http://mirrorlist.centos.org/?release=$releasever&arch=$basearch&repo=os
gpgcheck=1
gpgkey=file:///etc/pki/rpm-gpg/RPM-GPG-KEY-CentOS-7
#released updates
[updates]
name=CentOS-$releasever - Updates
baseurl=https://mirrors.tuna.tsinghua.edu.cn/centos/$releasever/updates/$basearch/
#mirrorlist=http://mirrorlist.centos.org/?release=$releasever&arch=$basearch&repo=updates
gpgcheck=1
gpgkey=file:///etc/pki/rpm-gpg/RPM-GPG-KEY-CentOS-7
#additional packages that may be useful
[extras]
name=CentOS-$releasever - Extras
baseurl=https://mirrors.tuna.tsinghua.edu.cn/centos/$releasever/extras/$basearch/
#mirrorlist=http://mirrorlist.centos.org/?release=$releasever&arch=$basearch&repo=extras
gpgcheck=1
gpgkey=file:///etc/pki/rpm-gpg/RPM-GPG-KEY-CentOS-7
#additional packages that extend functionality of existing packages
[centosplus]
name=CentOS-$releasever - Plus
baseurl=https://mirrors.tuna.tsinghua.edu.cn/centos/$releasever/centosplus/$basearch/
#mirrorlist=http://mirrorlist.centos.org/?release=$releasever&arch=$basearch&repo=centosplus
gpgcheck=1
enabled=0
gpgkey=file:///etc/pki/rpm-gpg/RPM-GPG-KEY-CentOS-7
~~~
4. 安装 EPEL 源:
```
# yum install epel-release
```
5. 更新软件包缓存:
~~~
# yum clean all
Loaded plugins: fastestmirror
Cleaning repos: base extras updates
# yum makecache
Loaded plugins: fastestmirror
Determining fastest mirrors
base | 3.6 kB 00:00:00
extras | 2.9 kB 00:00:00
updates | 2.9 kB 00:00:00
(1/10): base/7/x86_64/group_gz | 165 kB 00:00:03
(2/10): base/7/x86_64/filelists_db | 7.3 MB 00:00:05
(3/10): extras/7/x86_64/filelists_db | 207 kB 00:00:01
(4/10): extras/7/x86_64/other_db | 100 kB 00:00:00
(5/10): base/7/x86_64/other_db | 2.6 MB 00:00:01
(6/10): extras/7/x86_64/primary_db | 153 kB 00:00:03
(7/10): base/7/x86_64/primary_db | 6.0 MB 00:00:06
(8/10): updates/7/x86_64/filelists_db | 3.3 MB 00:00:04
(9/10): updates/7/x86_64/other_db | 368 kB 00:00:00
(10/10): updates/7/x86_64/primary_db | 5.9 MB 00:00:06
Metadata Cache Created
~~~
6. 更新软件包,这个根据你的网络情况,需要耐心等待一会:
~~~
# yum update -y
~~shu
<br >
## **安装附件软件**
1. 安装常用软件包
~~~
# yum install -y wget vim net-tools.x86_64 telnet zip unzip deltarpm jq
~~~
<br >
## **创建用户和组**
1. 创建`oper`组:
~~~
# groupadd oper
~~~
2. 创建用户`lemon`,将默认密码设置为`lemon123`:
~~~
# useradd -g oper lemon
# passwd lemon
~~~
<br >
