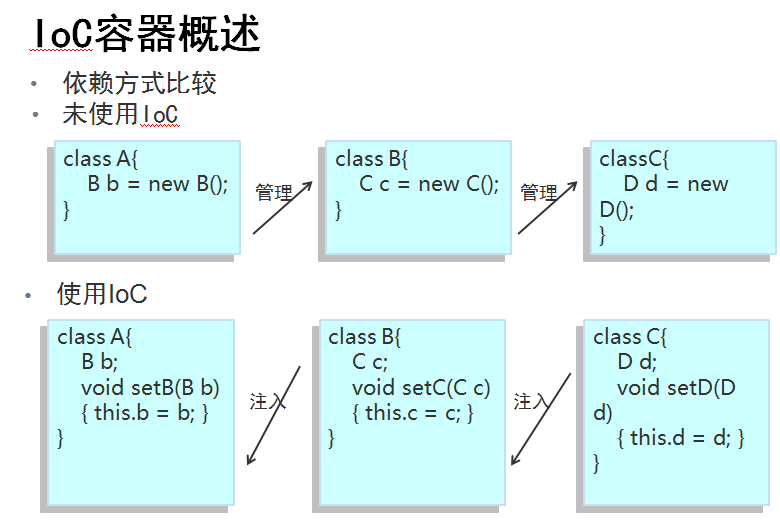
IOC: Inversion of Control, 控制反转 (DI: Depency Injection 依赖注入)
第一个案例
applicationContext.xml
```
<?xml version="1.0" encoding="UTF-8"?>
<beans xmlns="http://www.springframework.org/schema/beans"
xmlns:xsi="http://www.w3.org/2001/XMLSchema-instance"
xsi:schemaLocation="http://www.springframework.org/schema/beans
https://www.springframework.org/schema/beans/spring-beans.xsd">
<!-- name:对应类里的属性名, ref对应另一个bean的id -->
<bean id="a" class="com.neuedu.test.A" scope="prototype">
<property name="b" ref="b"></property>
</bean>
<bean id="b" class="com.neuedu.test.B">
<property name="c" ref="c"></property>
</bean>
<bean id="c" class="com.neuedu.test.C"></bean>
</beans>
```
java类的实现
```
public class A {
//通过java反射,java反射可以绕过访问权限修饰符的限制。
private A()
{
System.out.println("a被创建了");
}
private B b;
public void setB(B b) {
this.b = b;
}
public void test()
{
System.out.println(b);//类名@hashcode
b.test();//打印c
}
}
```
```
public class B {
public B()
{
System.out.println("b被创建");
}
private C c;
public void setC(C c) {
this.c = c;
}
public void test()
{
System.out.println(c);
}
}
```
```
public class C {
public C()
{
System.out.println("c被创建");
}
}
```
测试类的实现:
```
//使用属性注入(set方法注入)
@Test
public void testIOC()
{
//1. 启动spring ioc的容器(BeanFactory, ApplicationContext)
//BeanFactory尽量晚的实例化对象,等到getBean()的时候再实例化。
//applicationContext:尽量早的实例化对象,启动的时候,把单例的类都实例化好。非单例的类,等到第一次调用getBean实例化
ApplicationContext ctx = new ClassPathXmlApplicationContext("applicationContext.xml");
//2. 跟ioc容器要一个A的实例。特别注意,不能自己new A(),
A a = ctx.getBean(A.class);
A a2 = ctx.getBean(A.class);
A a3 = ctx.getBean(A.class);
A a4 = ctx.getBean(A.class);
//测试一下
//a.test();
System.out.println(a);
System.out.println(a2);
System.out.println(a3);
System.out.println(a4);
}
```
构造注入:
applicationContext.xml
```
<bean id="parent" class="com.neuedu.test.constructorinjection.Parent">
<constructor-arg name="child" ref="child"></constructor-arg>
</bean>
<bean id="child" class="com.neuedu.test.constructorinjection.Child">
</bean>
```
java类的实现
```
public class Parent {
private Child child;
public Parent(Child child)
{
this.child = child;
}
public void test()
{
System.out.println(child);
}
}
```
```
public class Child {
}
```
测试类的实现
```
//使用构造器注入
@Test
public void testIOC2()
{
//1. 启动spring ioc的容器(BeanFactory, ApplicationContext)
//BeanFactory尽量晚的实例化对象,等到getBean()的时候再实例化。
//applicationContext:尽量早的实例化对象,启动的时候,把单例的类都实例化好。非单例的类,等到第一次调用getBean实例化
ApplicationContext ctx = new ClassPathXmlApplicationContext("applicationContext.xml");
//2.
Parent parent = (Parent)ctx.getBean("parent");
parent.test();
}
```
值类型注入:
applicationContext.xml
```
<bean id="testInjection" class="com.neuedu.test.valueinjection.TestInjection">
<property name="driver" value="xx"></property>
<property name="list">
<list>
<value>list1</value>
<value>list2</value>
<value>list3</value>
<value>list4</value>
</list>
</property>
<property name="set">
<set>
<value>set1</value>
<value>set2</value>
<value>set3</value>
</set>
</property>
<property name="map">
<map>
<entry key="one entry" value="one value"/>
<entry key="two entry" value="two value"/>
<entry key="three entry" value="three value"/>
</map>
</property>
<property name="p">
<props>
<prop key="driver">com.mysql.jdbc.Driver</prop>
<prop key="url">jdbc:mysql://localhost:3306/javaee?useUnicode=true&characterEncoding=utf8</prop>
<prop key="username">root</prop>
<prop key="password">root</prop>
</props>
</property>
</bean>
```
java类的实现
```
public class TestInjection {
private String driver;
private List<String> list;
private Set<String> set;
private Map<String,String> map;
//像map key-value组合
private Properties p;
public void setDriver(String driver) {
this.driver = driver;
}
public void setList(List<String> list) {
this.list = list;
}
public void setSet(Set<String> set) {
this.set = set;
}
public void setMap(Map<String, String> map) {
this.map = map;
}
public void setP(Properties p) {
this.p = p;
}
public void test()
{
//1.输出string
System.out.println(driver);
//2.输出list
for(String str:list)
{
System.out.println(str);
}
System.out.println("===============");
//3.输出set
for(String str:set)
{
System.out.println(str);
}
System.out.println("===============");
//4.输出map
Set<Entry<String, String>> entries = map.entrySet();
for(Entry<String, String> entry: entries)
{
System.out.println(entry.getKey()+"=="+entry.getValue());
}
System.out.println("===============");
//5.输出properties
Set<Entry<Object, Object>> entries2 = p.entrySet();
for(Entry<Object, Object> entry: entries2)
{
System.out.println(entry.getKey()+"=="+entry.getValue());
}
}
}
```
测试类的实现
```
//使用属性注入的方式,注入值(通常用在第三方工具上)
@Test
public void testIOC3()
{
//1. 启动spring ioc的容器(BeanFactory, ApplicationContext)
//BeanFactory尽量晚的实例化对象,等到getBean()的时候再实例化。
//applicationContext:尽量早的实例化对象,启动的时候,把单例的类都实例化好。非单例的类,等到第一次调用getBean实例化
ApplicationContext ctx = new ClassPathXmlApplicationContext("applicationContext.xml");
//2.
TestInjection t = ctx.getBean(TestInjection.class);
t.test();
}
```
Bean的实例化:
Scope属性:singleton(默认) prototype
~~~
<bean id="testService" class="com.neuedu.model.service.TestService"></bean>
<bean id="testDAO" class="com.neuedu.model.service.TestService"></bean>
~~~
~~~
ApplicationContext application = new ClassPathXmlApplicationContext("applicationContext.xml");
TestService service = (TestService)application.getBean("testService");
TestService service2 = (TestService)application.getBean("testService");
System.out.println(service);
System.out.println(service2);
~~~
bean的几种实例化方法
用构造器来实例化(常用)
~~~
<bean id=”” class=””>
~~~
使用静态工厂方式实例化
~~~
public class TestServiceFactory {
static int count = 0;
public static TestService getInstance() {
if(count<3) {
count++;
return new TestService();
}
return null;
}
}
~~~
~~~
<bean id="testService" class="com.neuedu.model.service.TestServiceFactory" factory-method="getInstance" scope="prototype"></bean>
~~~
使用实例工厂方法实例化
~~~
public class TestDAOFactory {
int count = 0;
public TestDAO getInstance()
{
if(count<3)
{
count++;
return new TestDAO();
}
return null;
}
}
~~~
~~~
<bean id="testDAOFactory" class="com.neuedu.model.dao.TestDAOFactory"></bean>
<bean id="testDAO" factory-bean="testDAOFactory" factory-method="getInstance" scope="prototype"></bean>
~~~
BeanFactory & ApplicationContext 的对比
~~~
BeanFactory
采用延迟加载Bean, 直到第一次使用getBean()方法获取Bean实例时,才会创建Bean
BeanFactory factory = new XmlBeanFactory(new FileSystemResource("beans.xml"));
BeanFactory factory = new XmlBeanFactory(new UrlResource("beans.xml"));
BeanFactory factory = new XmlBeanFactory(new ClassPathResource("beans.xml"))
ApplicationContext
ApplicationContext在自身被实例化时一次完成所有Bean的创建,大多数时候使用ApplicationContext.
ApplicationContext ctx = new ClassPathXmlApplicationContext("applicationContext.xml");
ApplicationContext ctx = new FileSystemXmlApplicationContext("applicationContext.xml");
ApplicationContext ctx = new XmlWebApplicationContext("applicationContext.xml");
~~~
