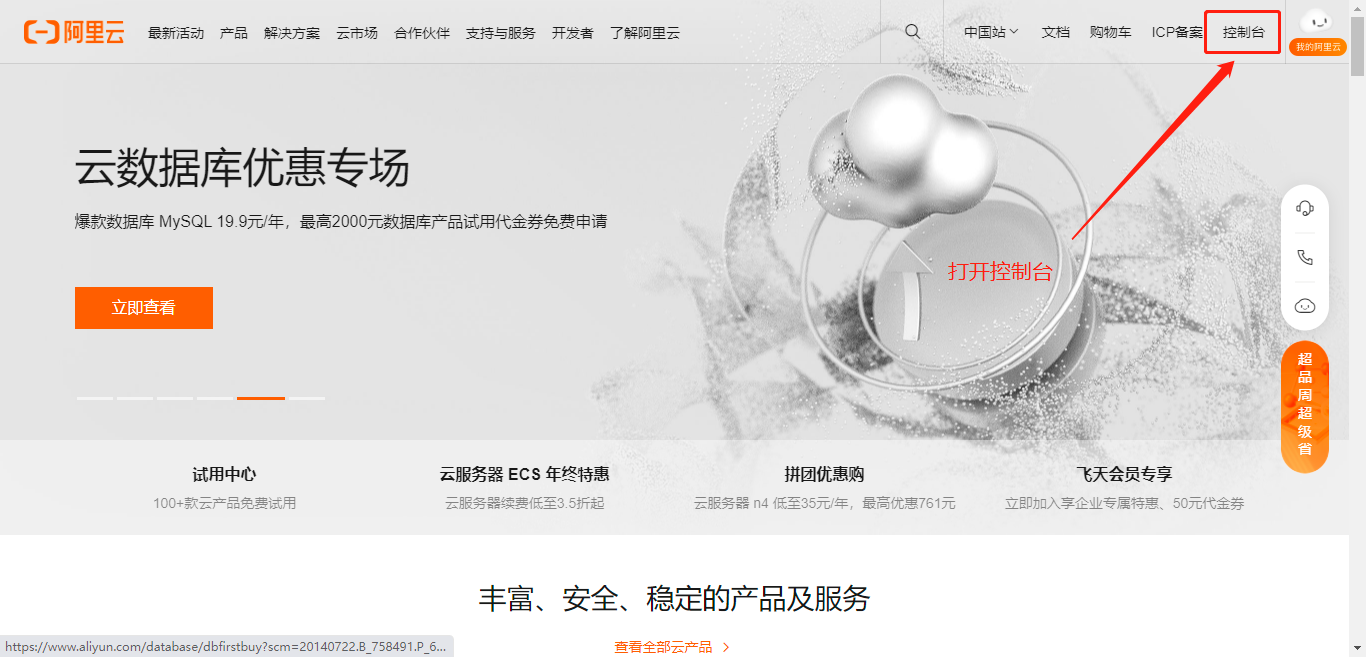
#### **登录`阿里云`并打开`控制台`**
>提示:我们在这里以`阿里云`为例[https://www.aliyun.com/](https://www.aliyun.com/)
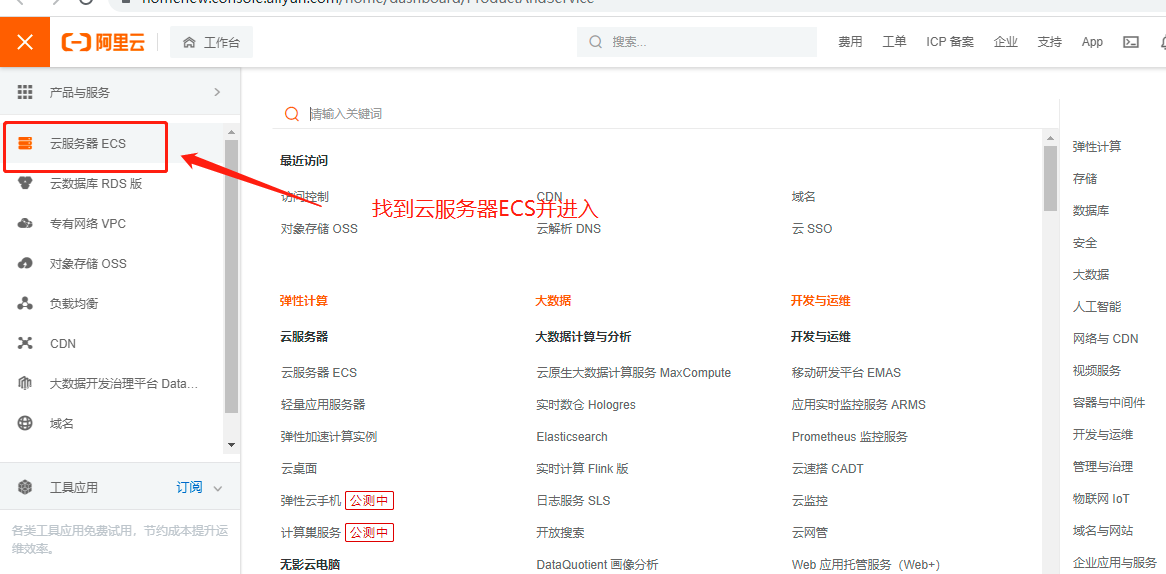
#### **找到`云服务器ECS`并`进入`**
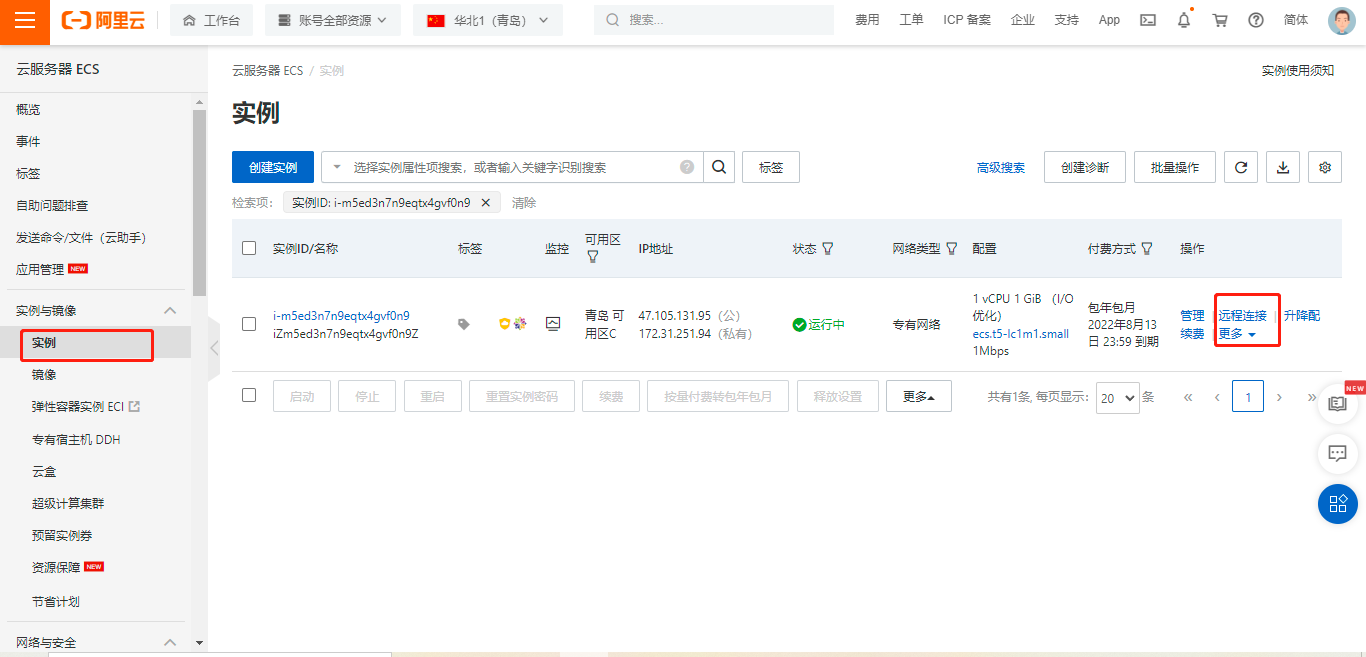
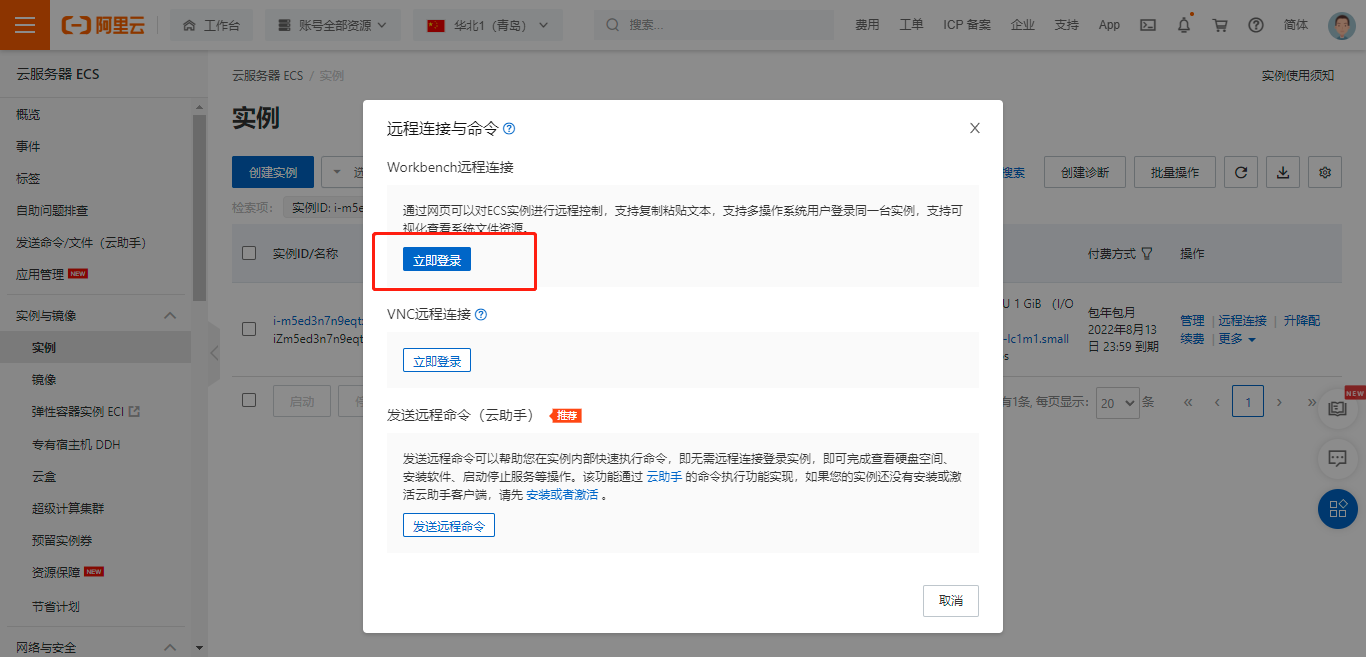
#### **打开`实例`并打开`远程链接`**
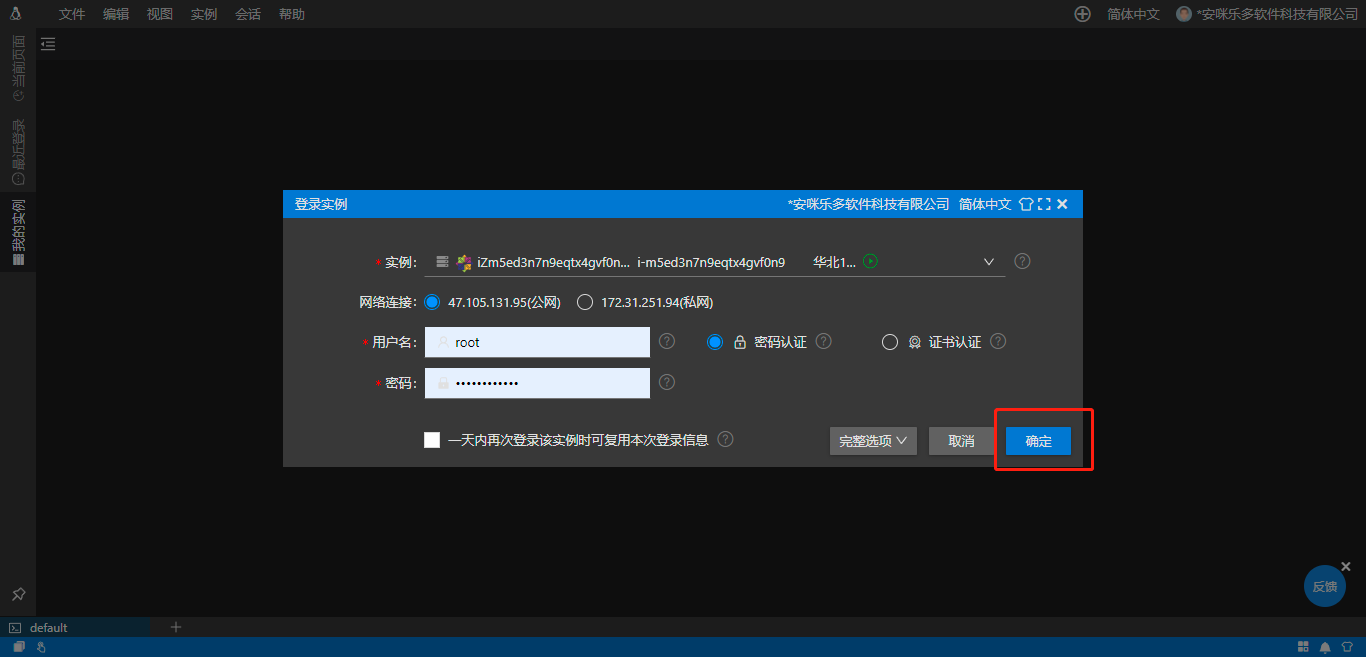
#### **输入root`密码`,点击`确定`**
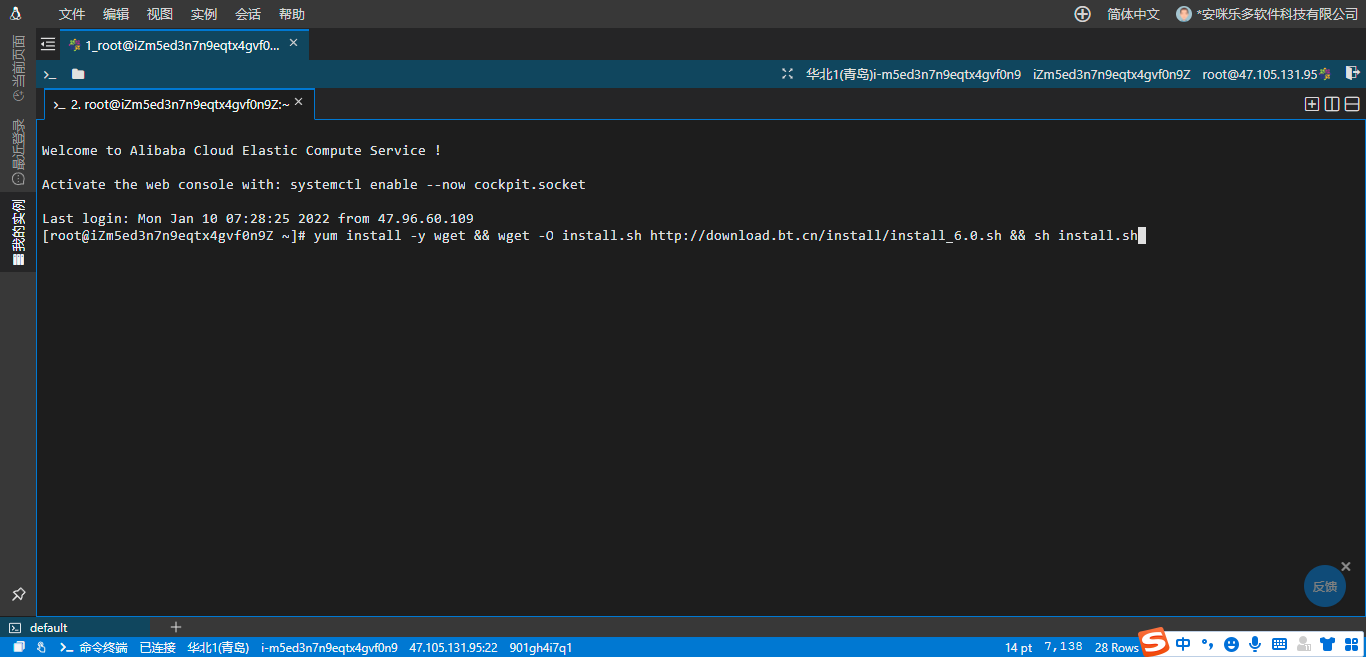
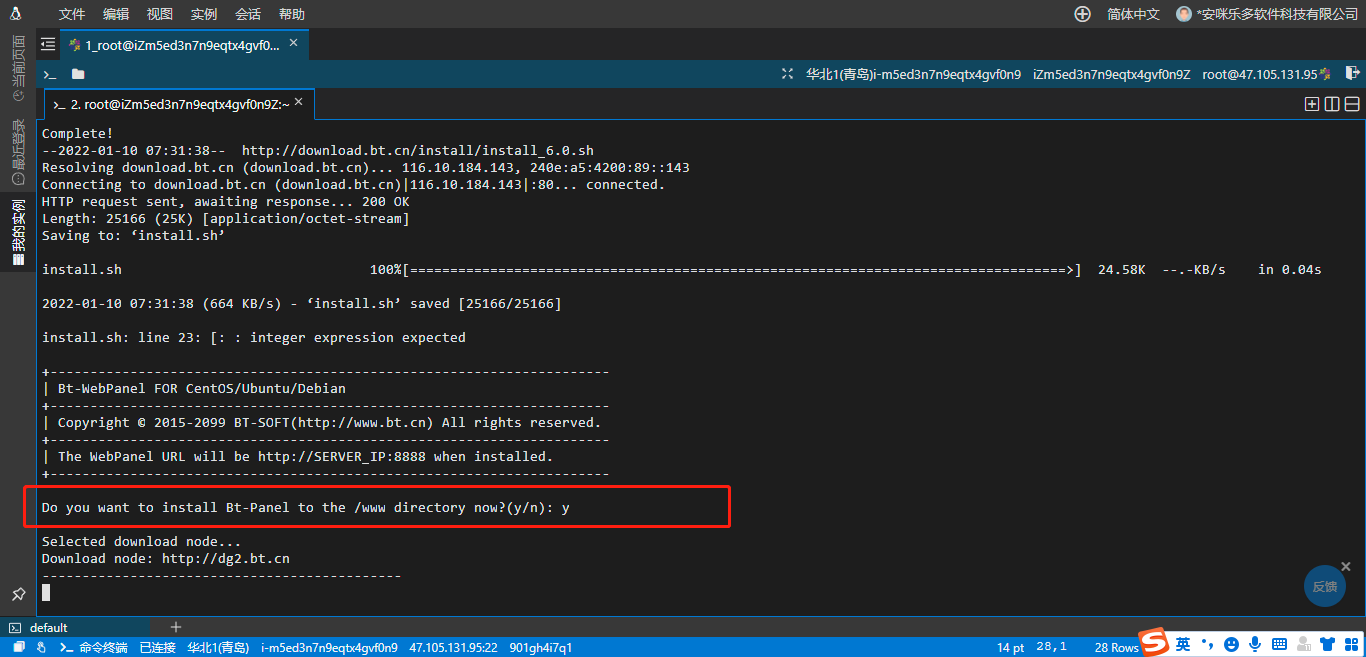
#### **安装宝塔**
>提示:我们这里使用的操作系统是CentOS8.4,这里根据你不同的操作系统选择不同的命令[https://www.bt.cn/download/linux.html](https://www.bt.cn/download/linux.html)
```
yum install -y wget && wget -O install.sh http://download.bt.cn/install/install_6.0.sh && sh install.sh
```
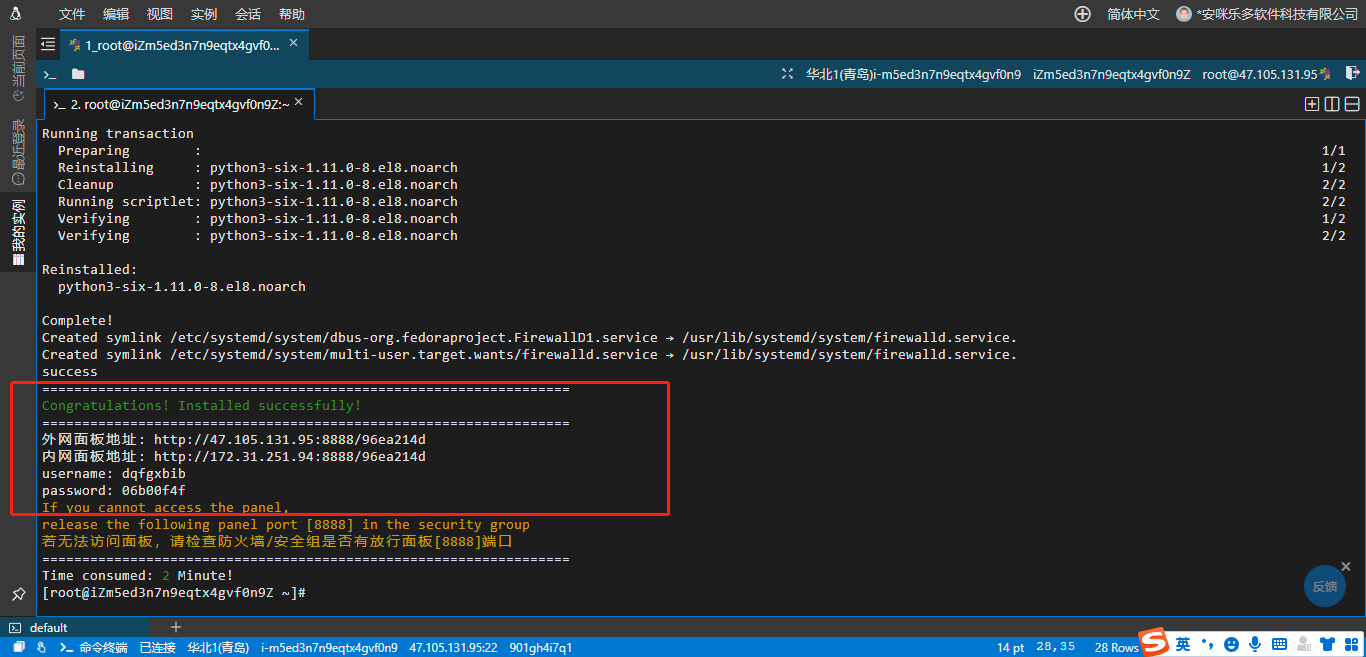
#### **安装完成复制登录地址和账号密码信息**
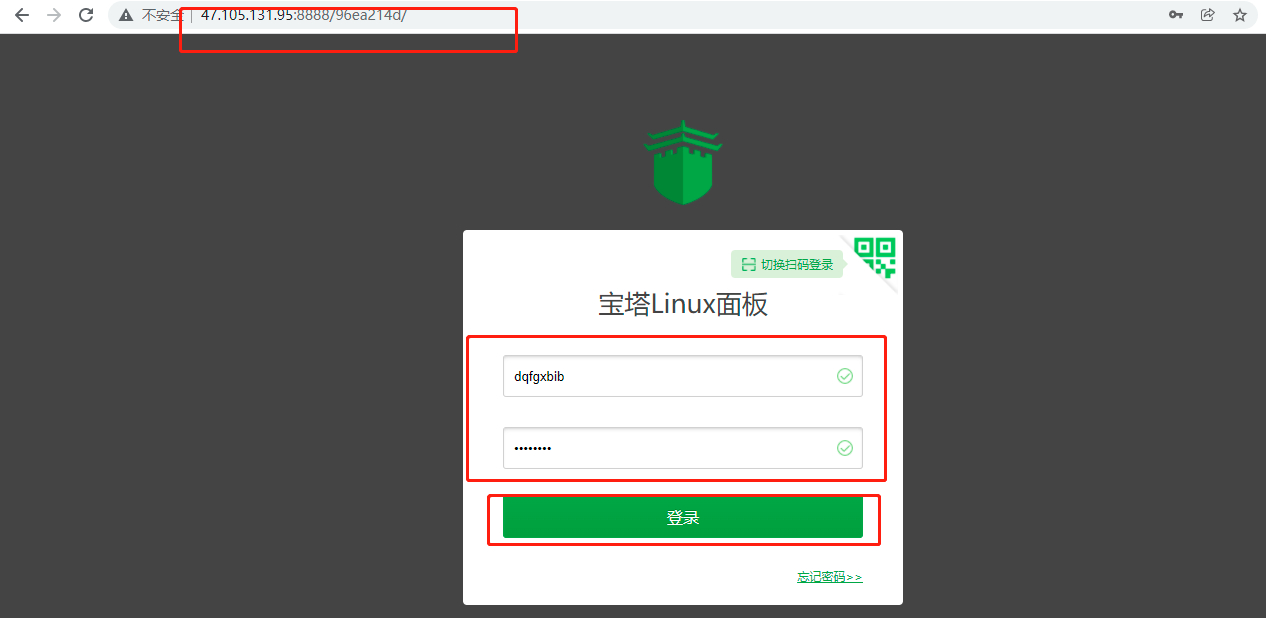
#### **代开登录地址并输入账号和密码进行登录**

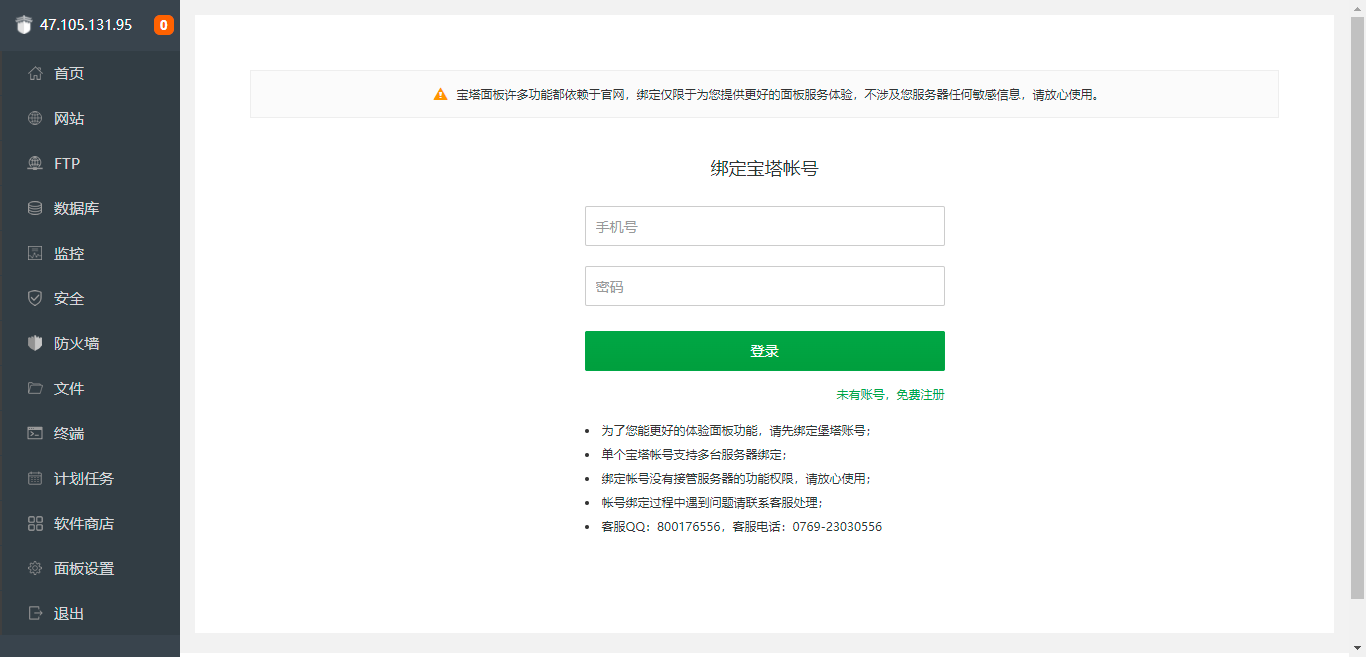
#### **第一次打开需要登录`宝塔`的账号和密码,没有的可以去申请一个**
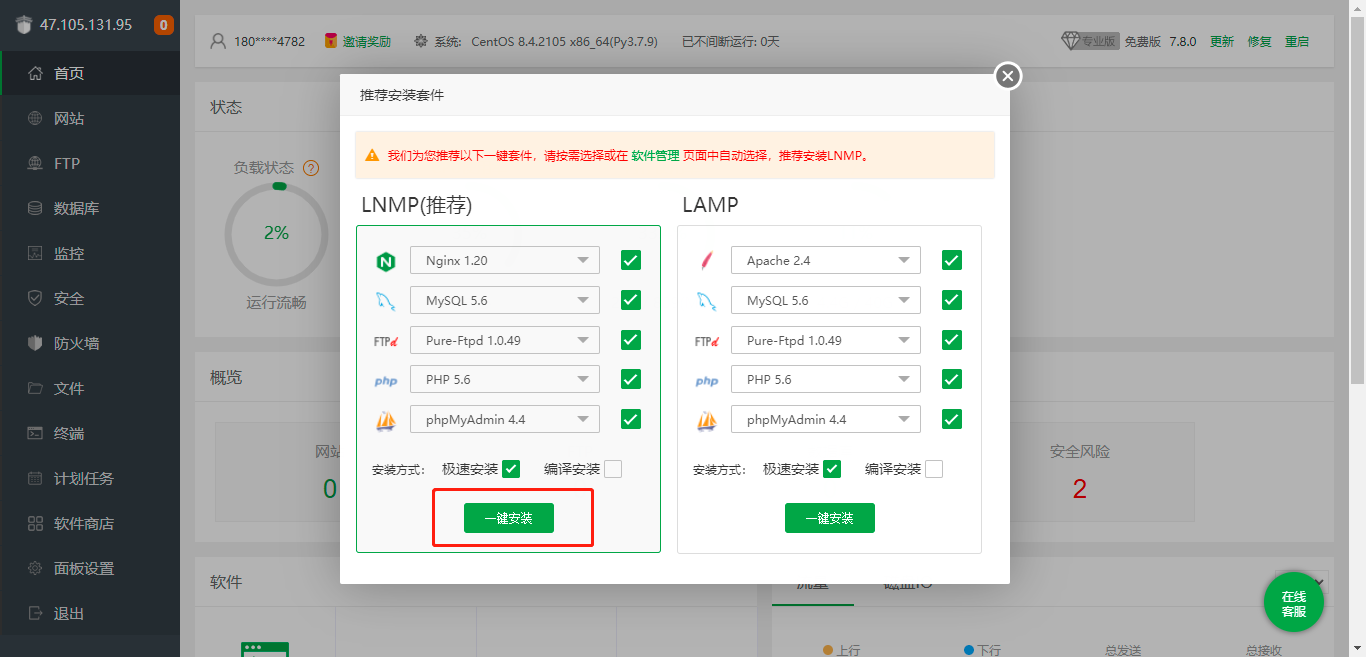
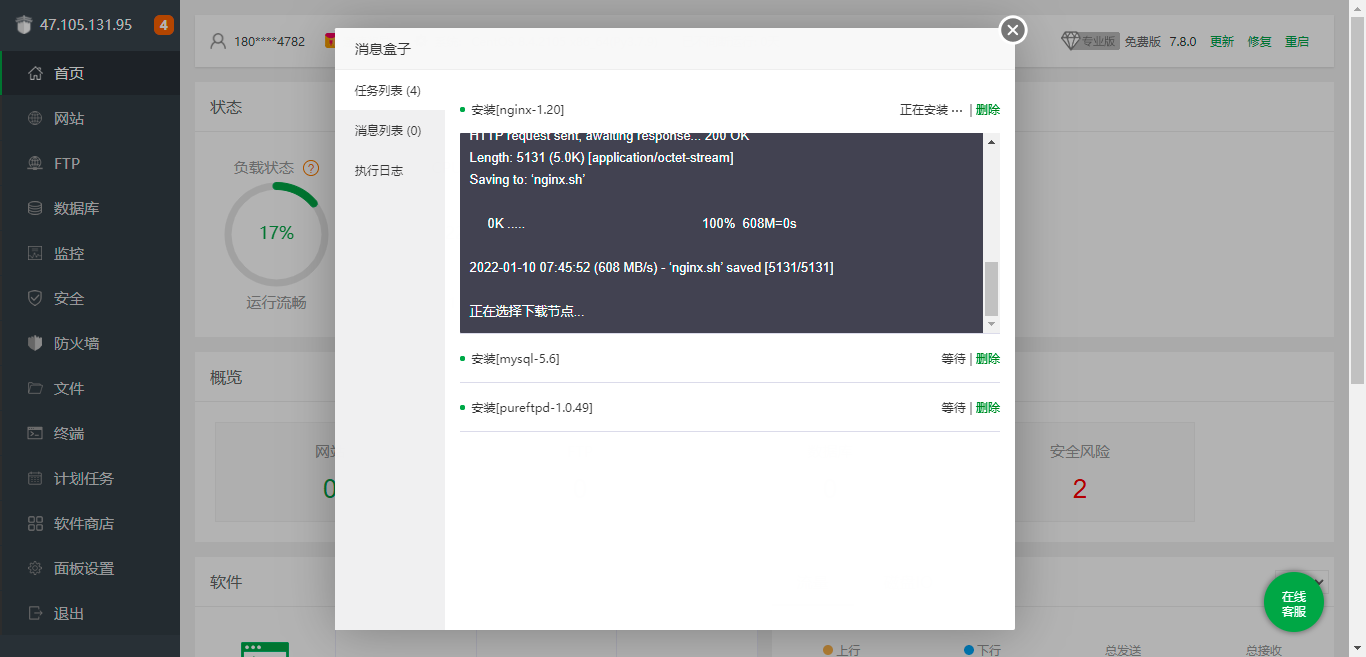
#### **选择安装`LNMP`**
> 这里安装可能需要一段时间,请耐心等待
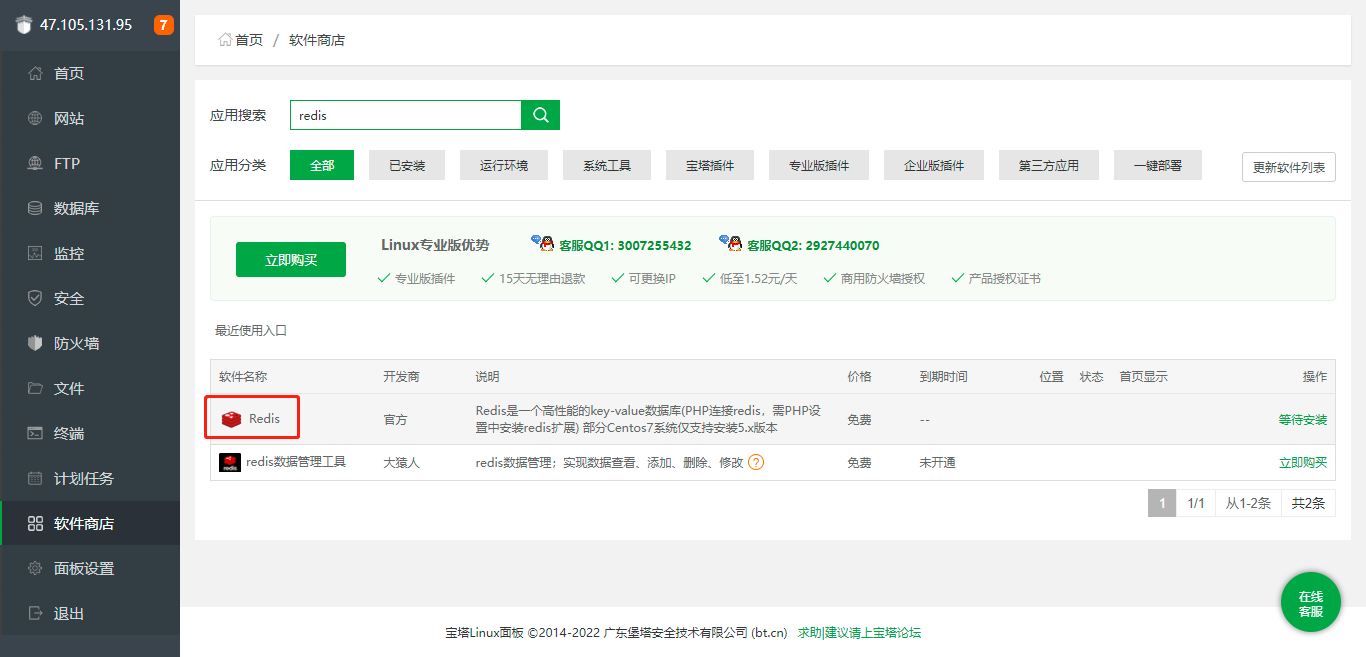
#### 打开`软件商店`,安装`Redis`
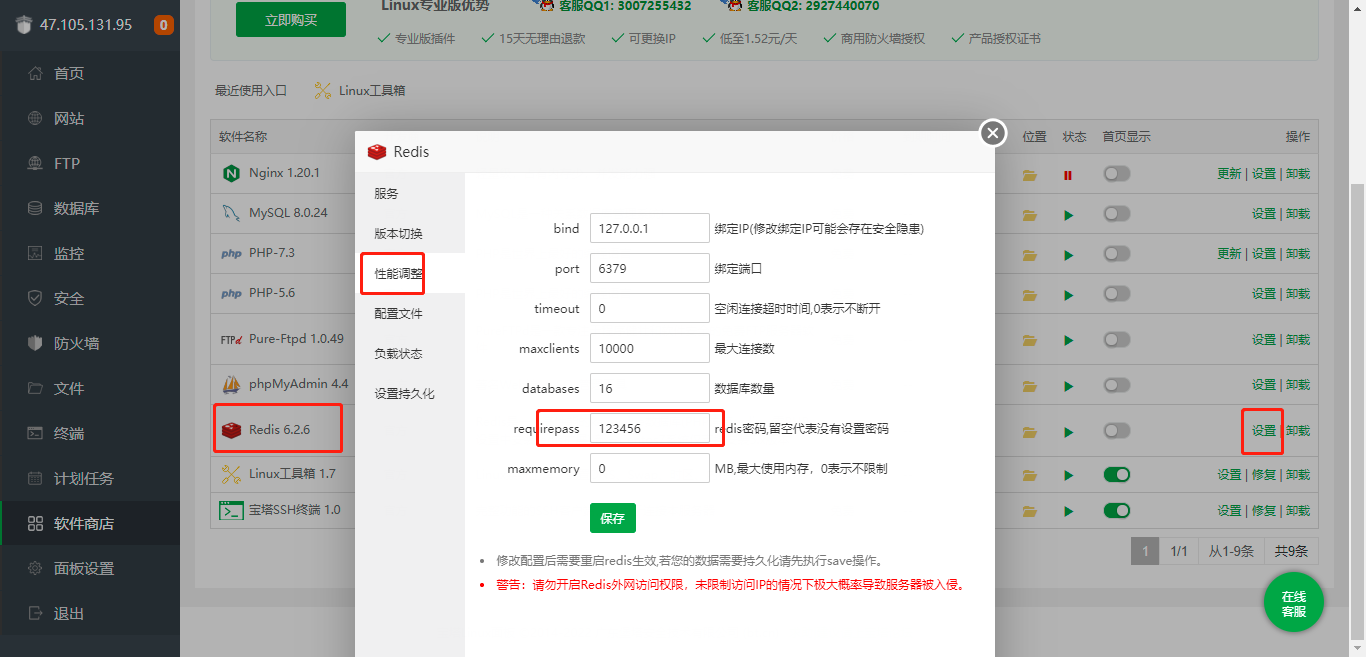
#### **设置`Redis密码`**
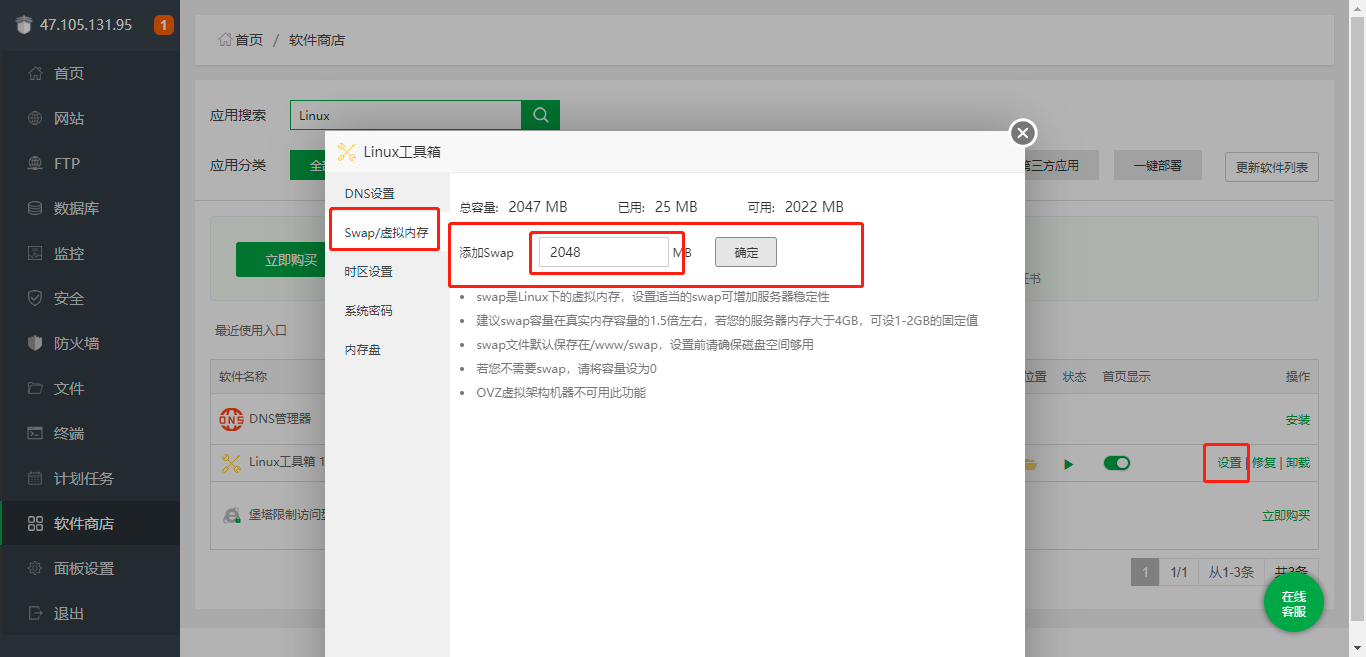
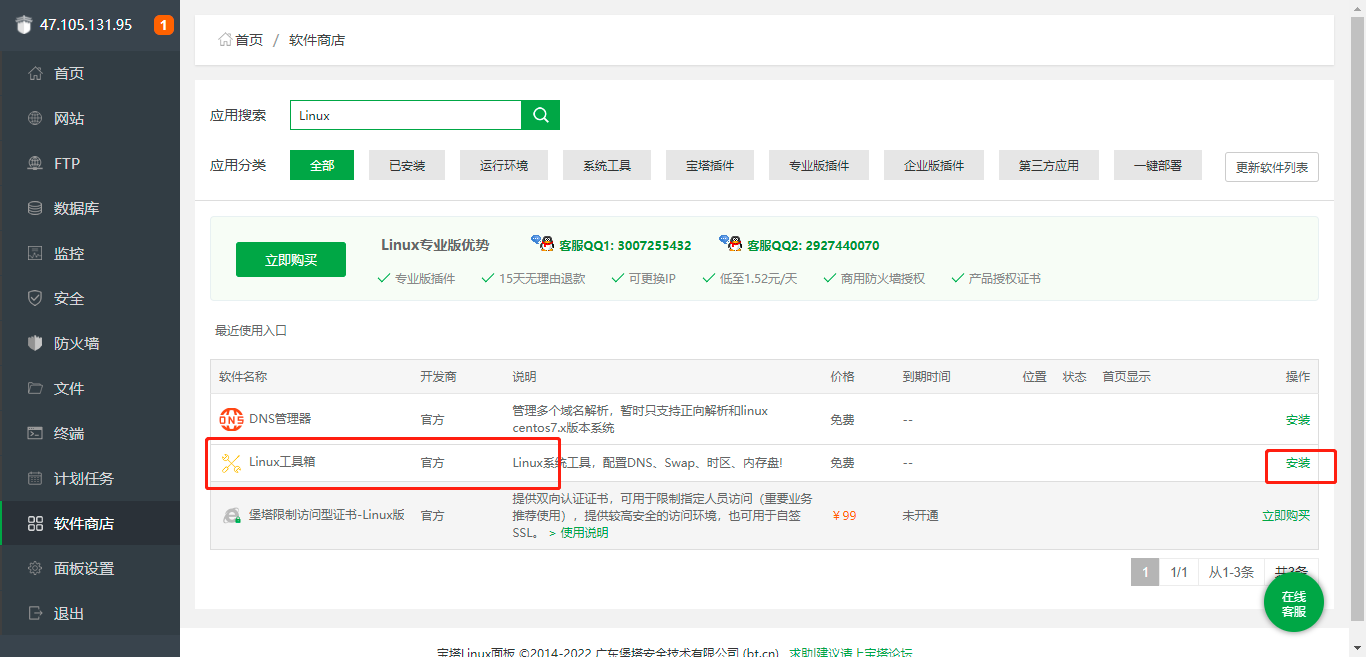
#### 打开`软件商店`,安装`Linux工具箱`
> 由于服务器比较小这样可以增加服务器的内存,下载需要重载服务器

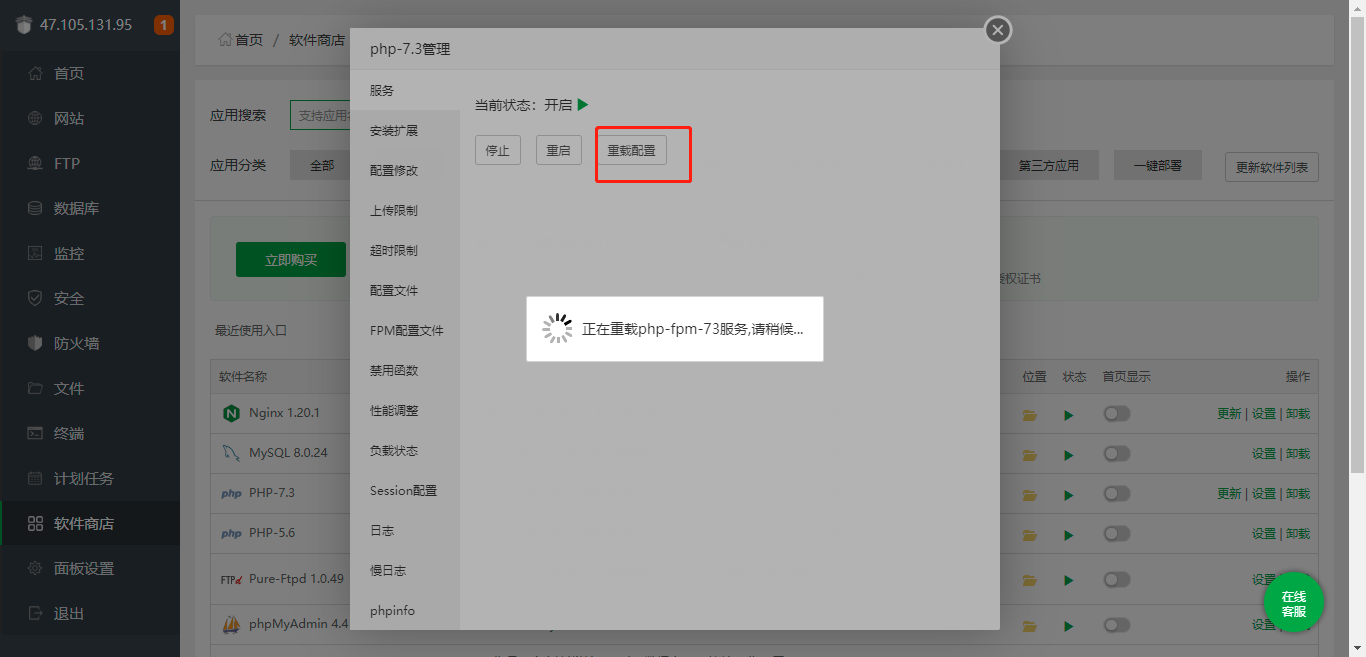
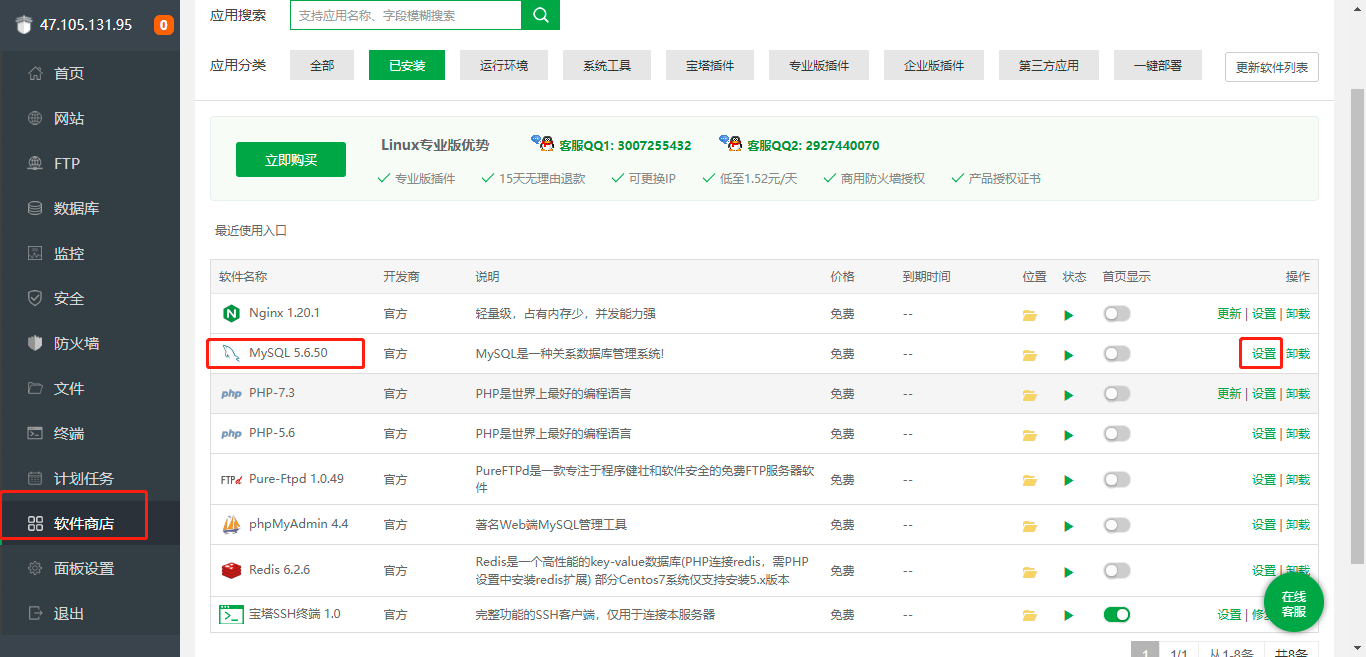
#### 打开`软件商店`,安装`PHP7.3`
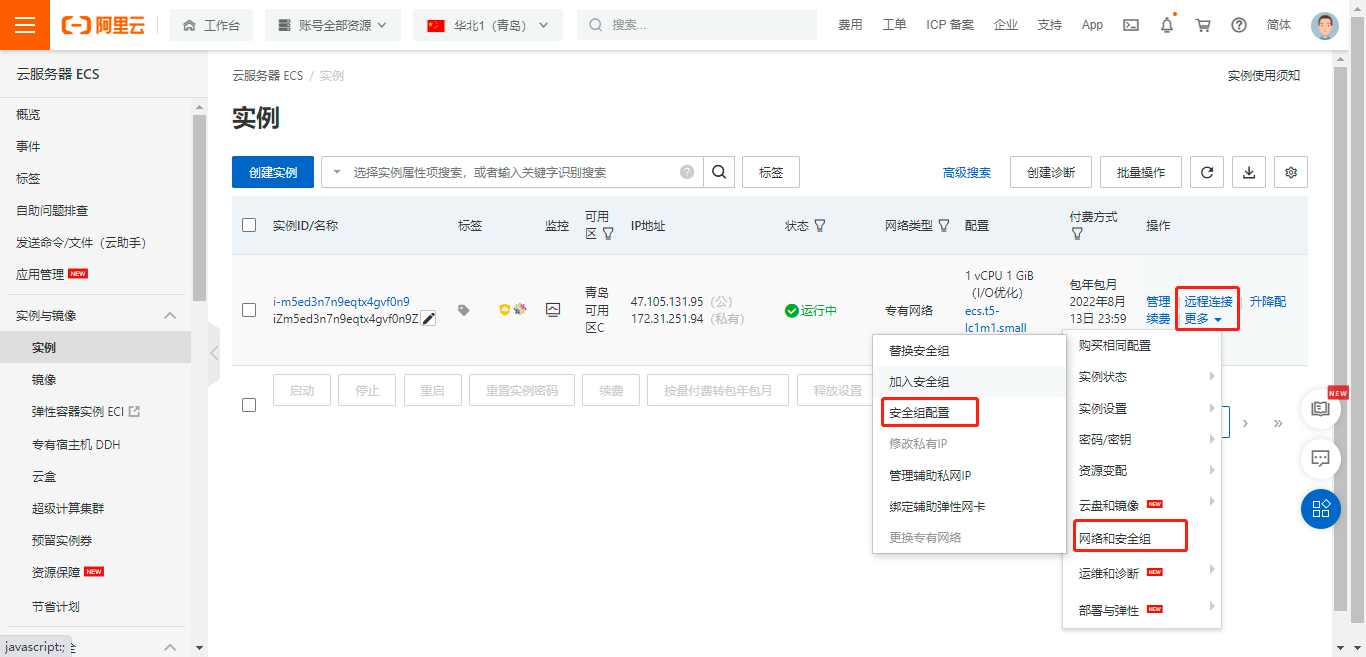
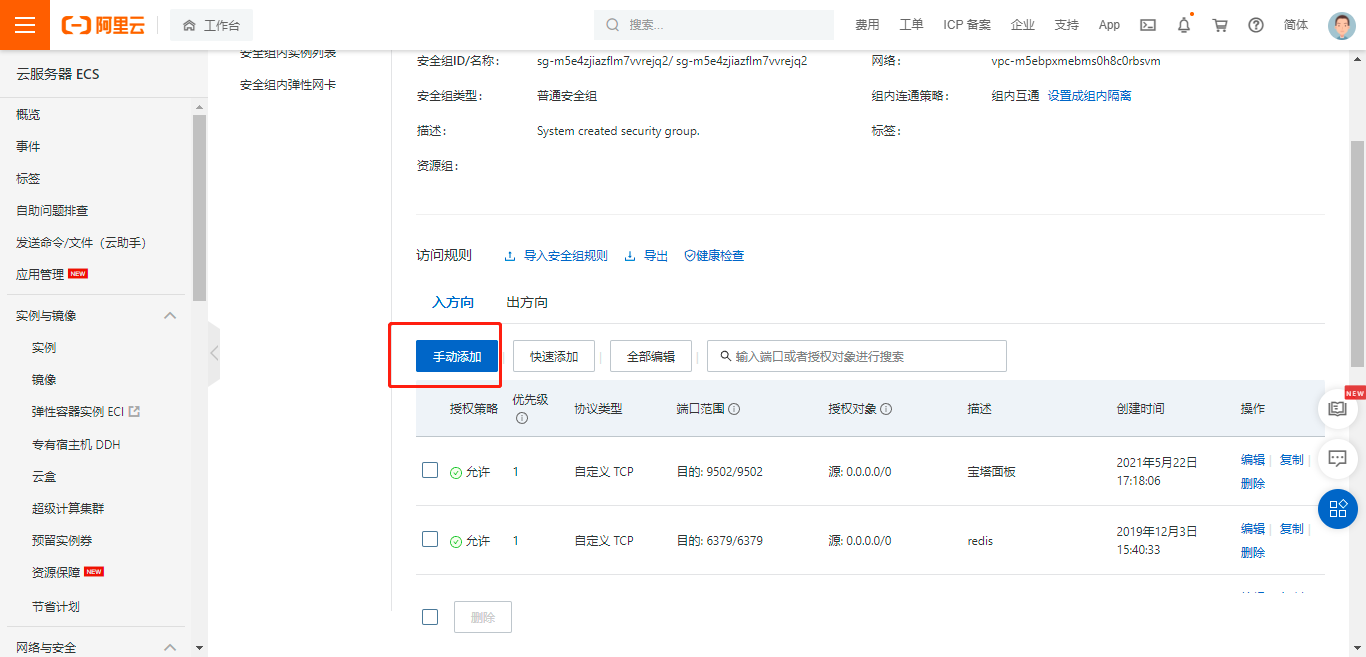
#### **配置阿里云`安全组`**
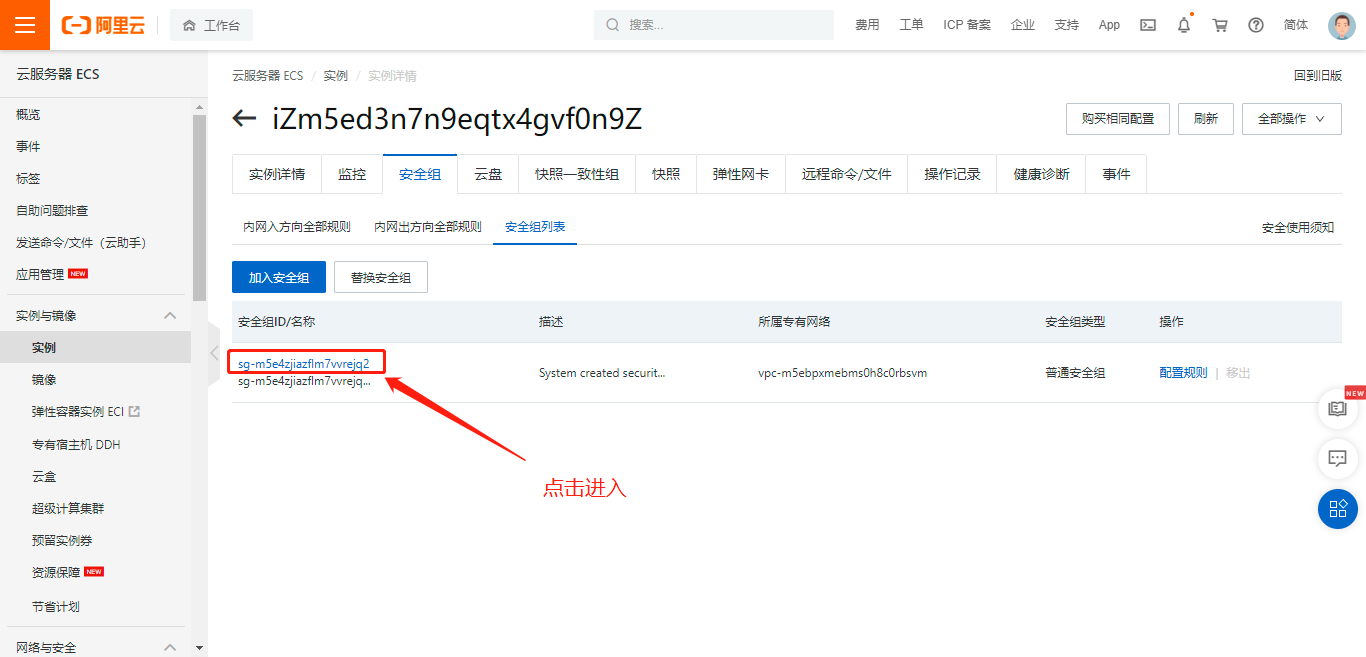
#### **添加相应的安全组**
```
自定义 TCP 目的: 6379/6379 源: 0.0.0.0/0 redis
自定义 TCP 目的: 888/888 源: 0.0.0.0/0 phpmyadmin访问端口
自定义 TCP 目的: 80/80 源: 0.0.0.0/0 网站访问端口
自定义 TCP 目的: 3306/3306 源: 0.0.0.0/0 mysql默认端口
自定义 TCP 目的: 21/21 源: 0.0.0.0/0 ftp端口
自定义 TCP 目的: 39000/40000 源: 0.0.0.0/0 ftp端口
自定义 TCP 目的: 443/443 源: 0.0.0.0/0 ssl证书
自定义 TCP 目的: 8888/8888 源: 0.0.0.0/0 宝塔登录
自定义 TCP 目的: 22/22 源: 0.0.0.0/0
```
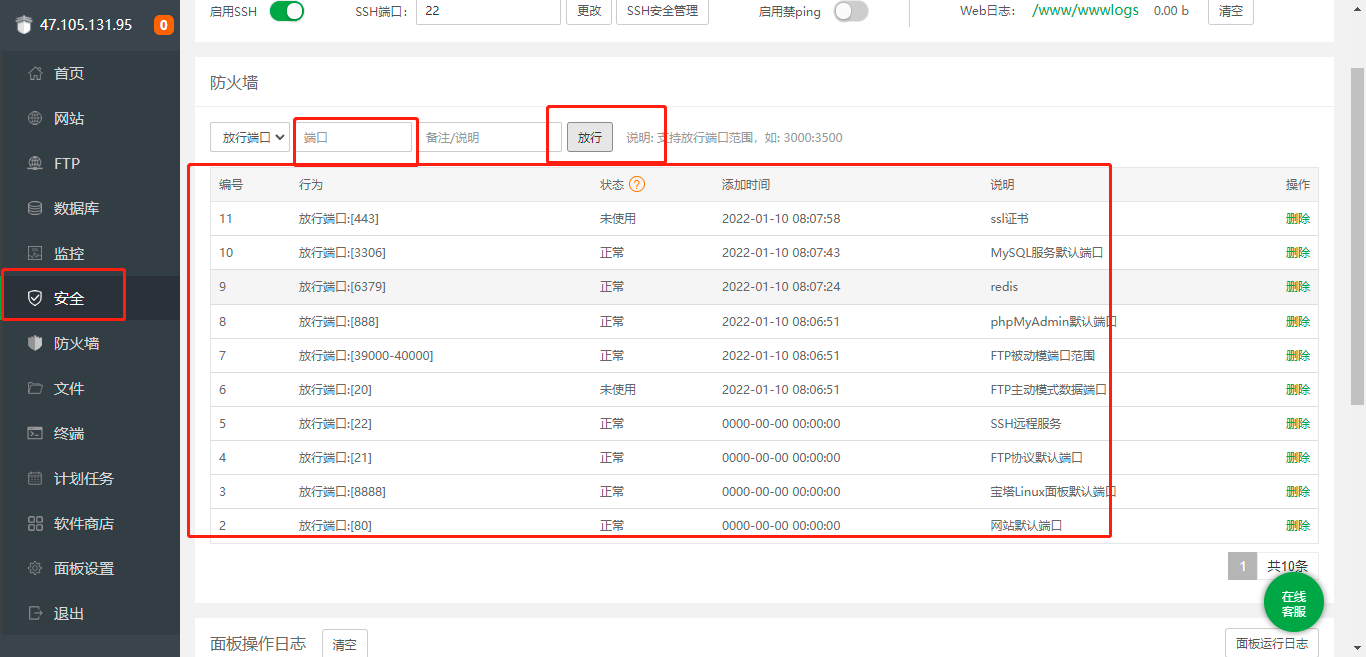
#### **配置宝塔安全组方向**
#### **安装MySql8.0**
>提示:如果你的服务器大于2个CPU核心,那么可以直接下载,如果没有需要借助命令行进行下载,具体方法如下。
#### **大于2个CPU核心**

#### **小于2个CPU核心**
```
cd /www/server/panel/install
wget http://download.bt.cn/install/1/mysql.sh
bash mysql.sh install 8.0
```

#### **.安装所需扩展`fileinfo`、`opcache`、`redis`、`imagemagick`、`imap`、`exif`、`intl`、`xsl`。**
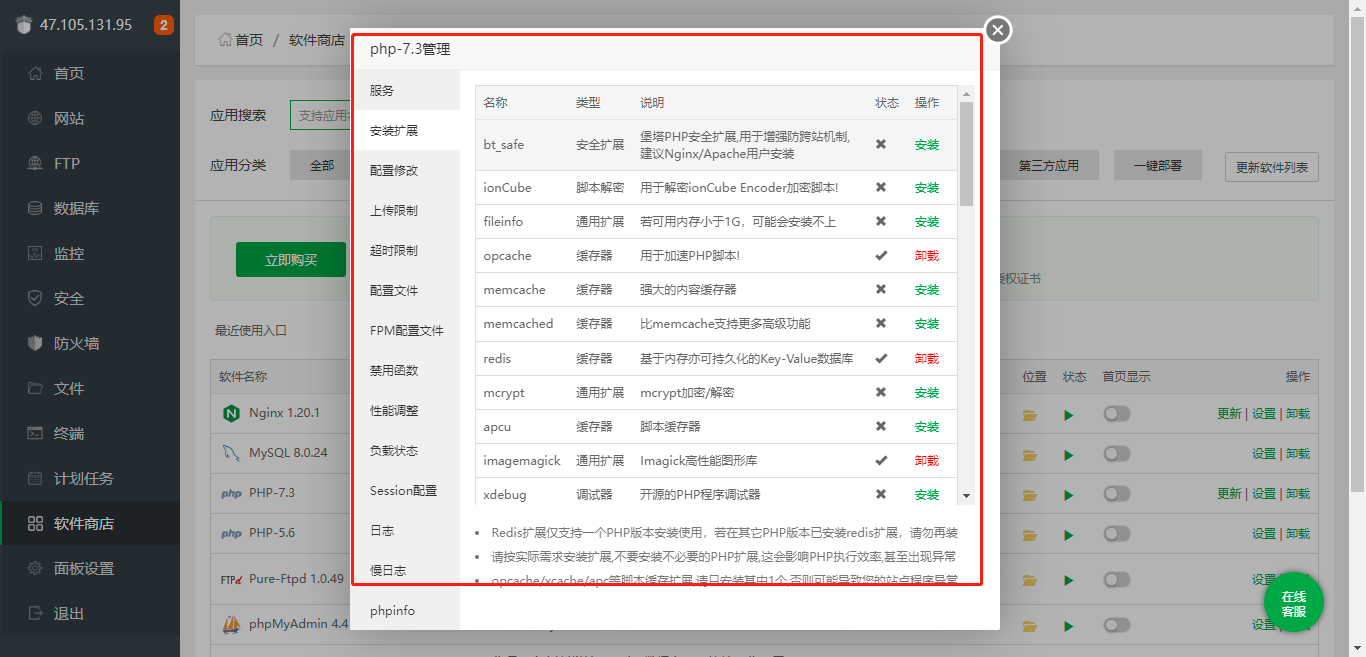
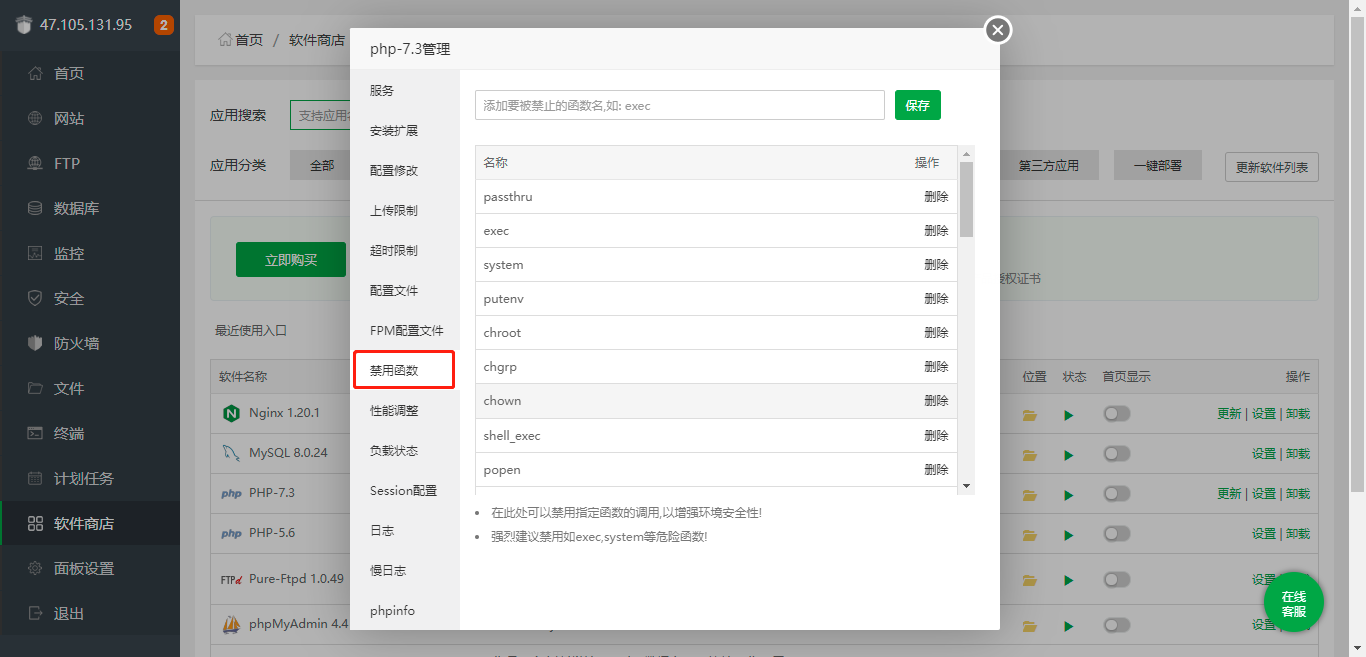
#### **删除相关禁用PHP禁用函数`putenv()` 、 `pcntl_signal()` 、 `proc_open()`,`symlink()`,`pcntl_alarm()`**
#### **远程链接查看`php版本`**
```
php -v
```
>提示:如果php版本不是7.3,需要重新设置php版本
```
首先删除PHP默认版本
rm -f /usr/bin/php
将默认版本改成73
ln -sf /www/server/php/73/bin/php /usr/bin/php
```
#### **安装`GIT`**
```
yum -y install git
git --version
git config --global user.email "邮箱"
git config --global user.name "姓名"
#生成ssh
ssh-keygen -t rsa -C "邮箱"
# 查看你的 public key 将它添加到码云
cat ~/.ssh/id_rsa.pub
# 查看是否完成
ssh -T git@gitee.com
```
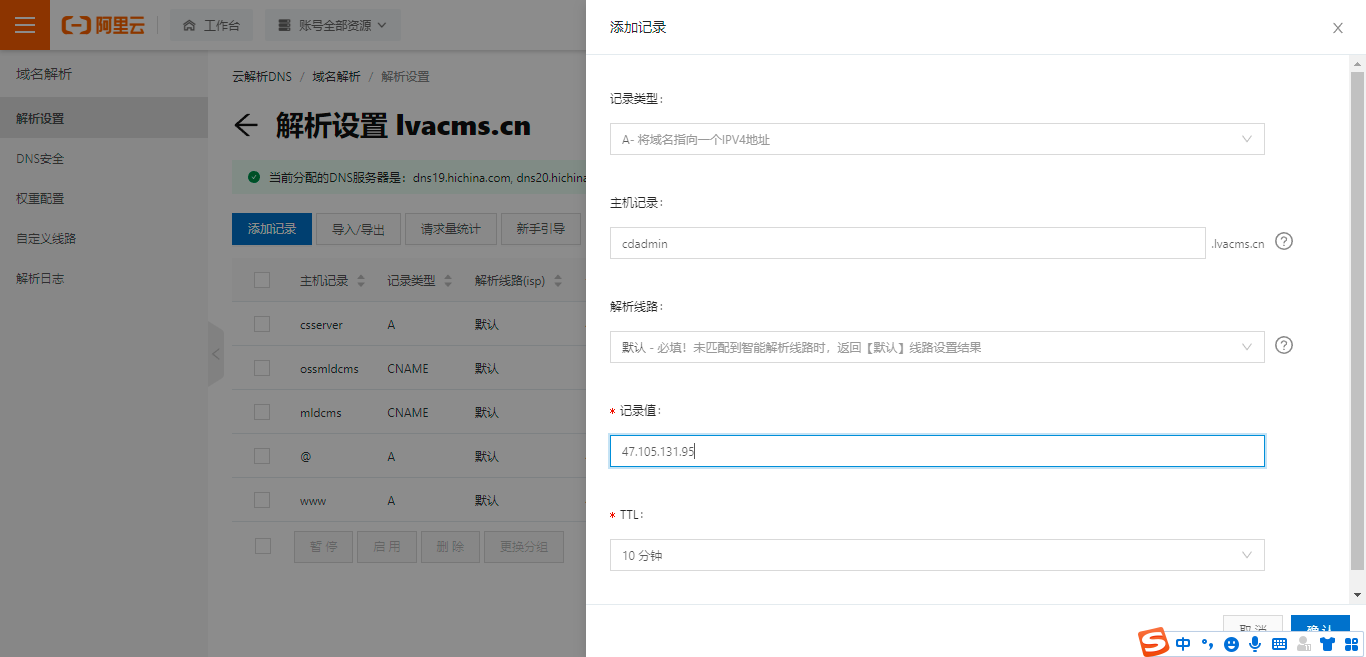
#### **在阿里云创建域名**

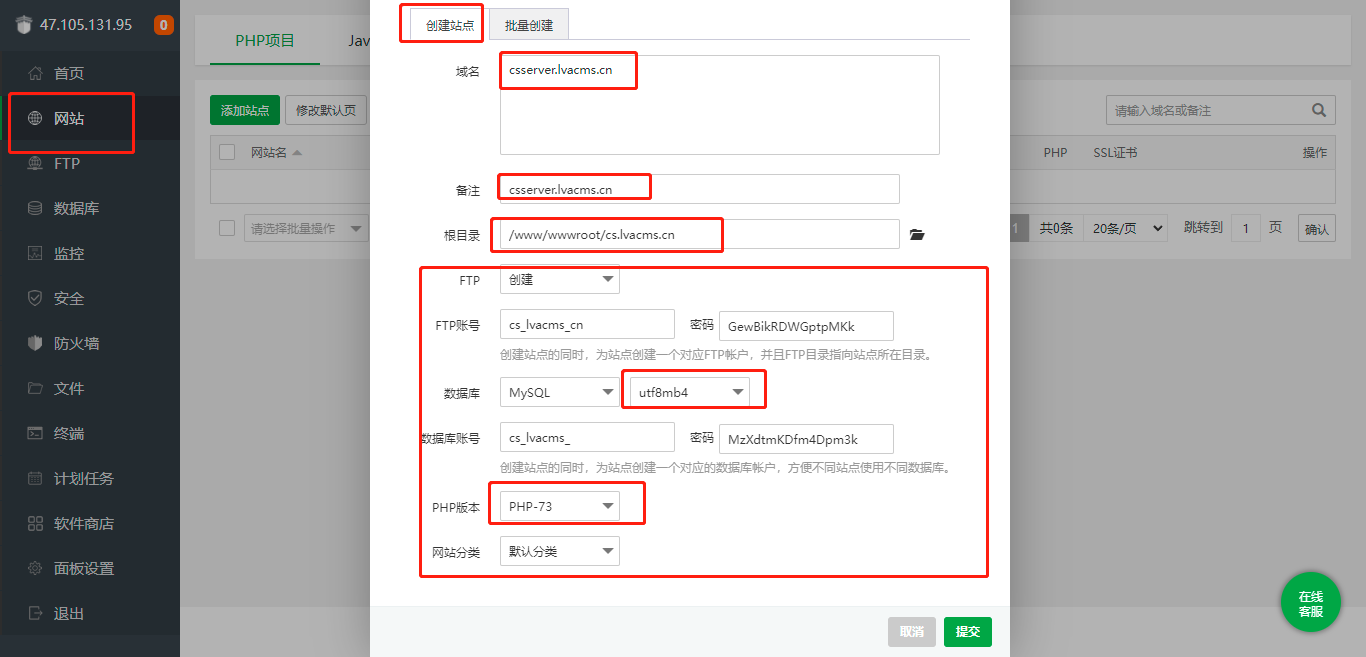
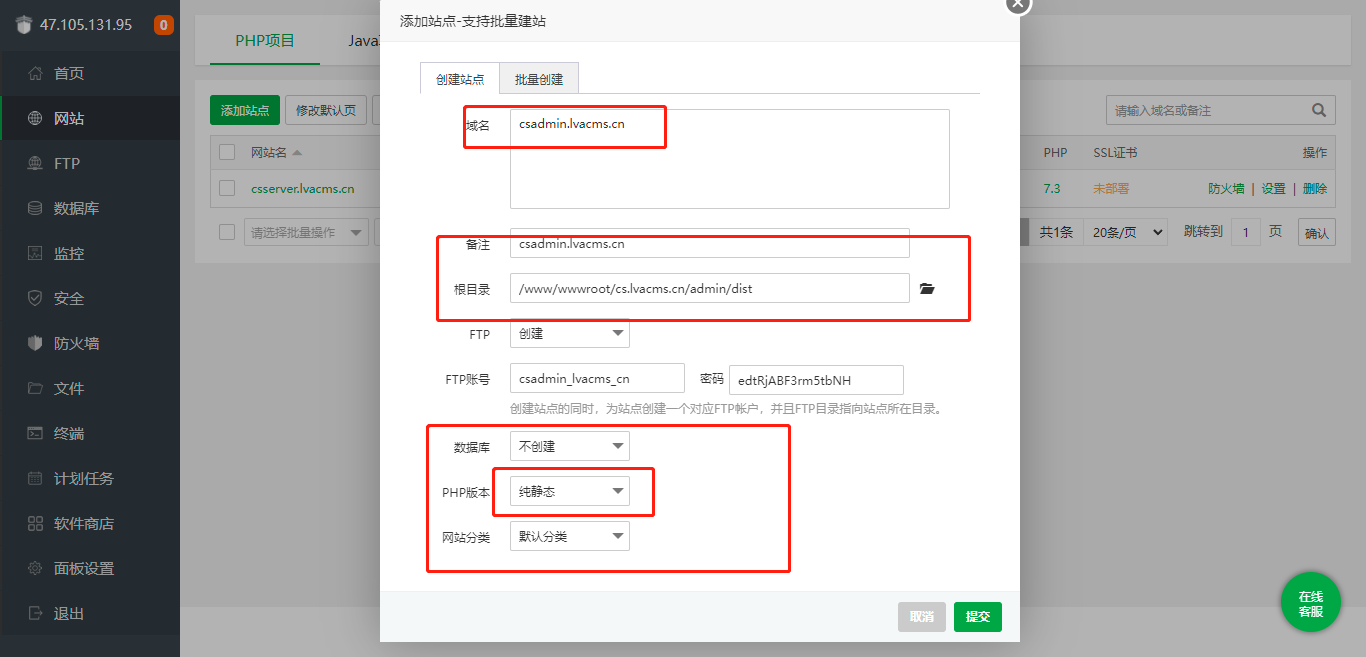
#### **在宝塔创建网站**
#### **下载项目**
```
cd /www/wwwroot
# cs.lvacms.cn 表示生成文件夹名称
git clone git@gitee.com:song-bo/lva-cms2.0.git cs.lvacms.cn
# 切换到服务端根目录
cd cs.lvacms.cn/server
# 安装扩展
composer install
# 生成 env 文件
cp .env.example .env
# 生成laravel的key
php artisan key:generate
# 生成jwt-auth的key
php artisan jwt:secret
# 在.env文件配置mysql数据库和redis密码
# 执行数据库迁移
php artisan module:migrate
# 执行数据库填充
php artisan module:seed
# 生成图片快捷方式
php artisan storage:link
# 修改env文件
QUEUE_CONNECTION=database
```
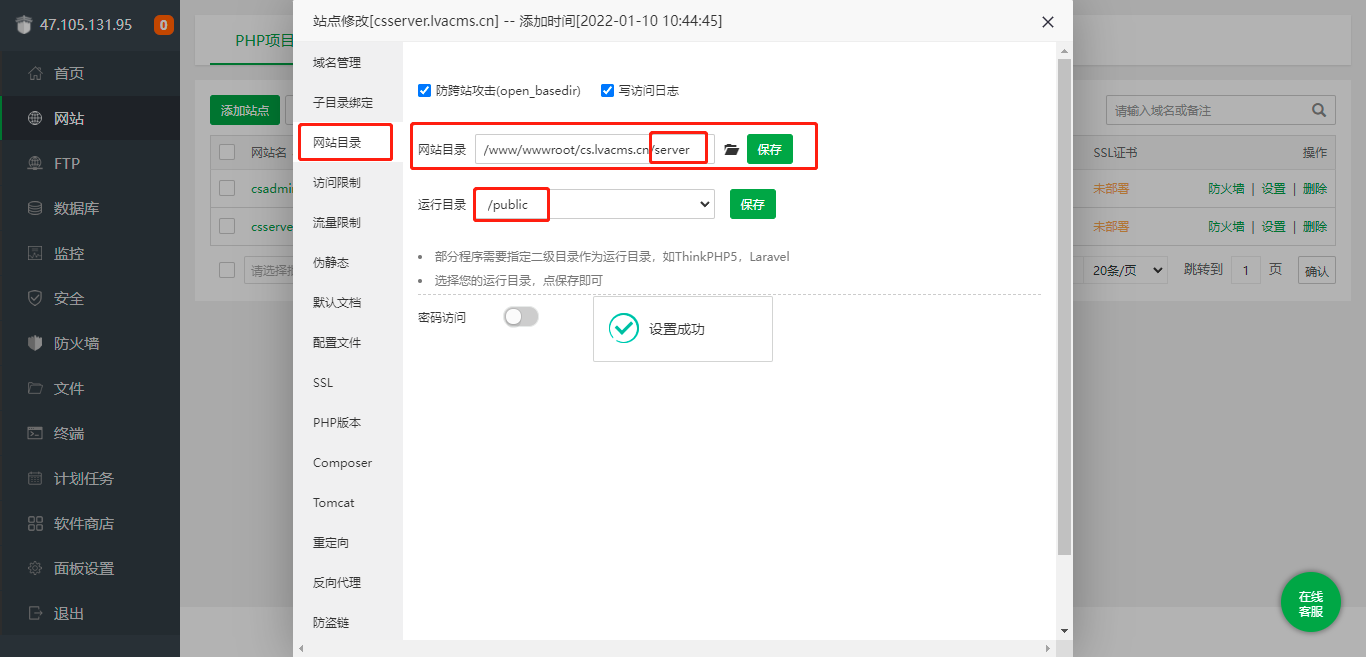
#### **配置`server`网站目录**
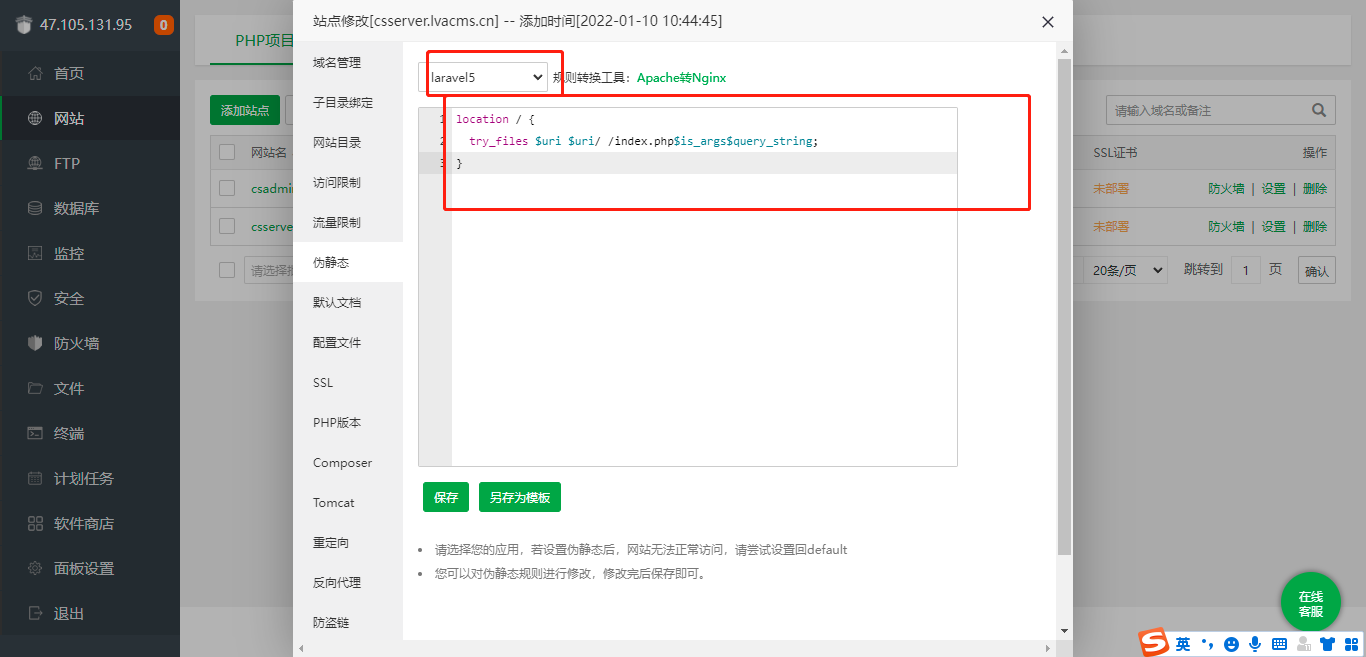
#### **配置`server`伪静态**
```
location / {
try_files $uri $uri/ /index.php$is_args$query_string;
}
```
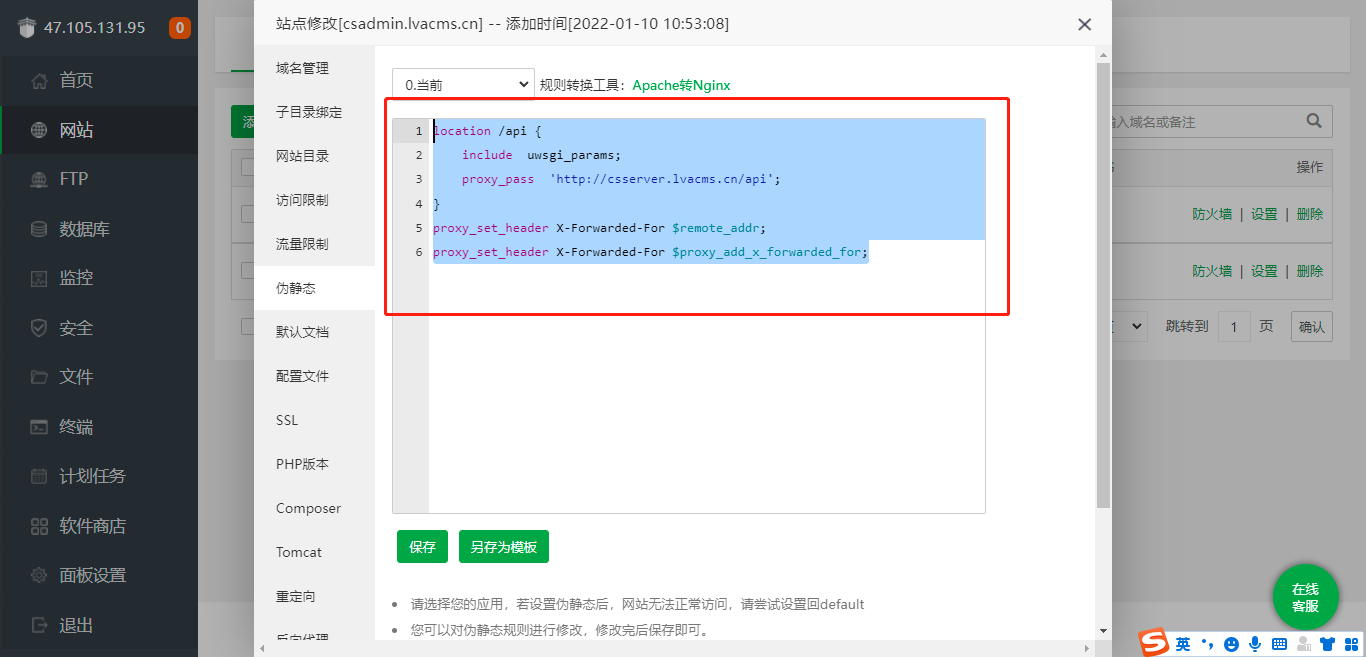
配置`admin` 代理
```
location /api {
include uwsgi_params;
proxy_pass 'http://csserver.lvacms.cn/api';
}
proxy_set_header X-Forwarded-For $remote_addr;
proxy_set_header X-Forwarded-For $proxy_add_x_forwarded_for;
```