* [ ] 查看是否支持`webp`
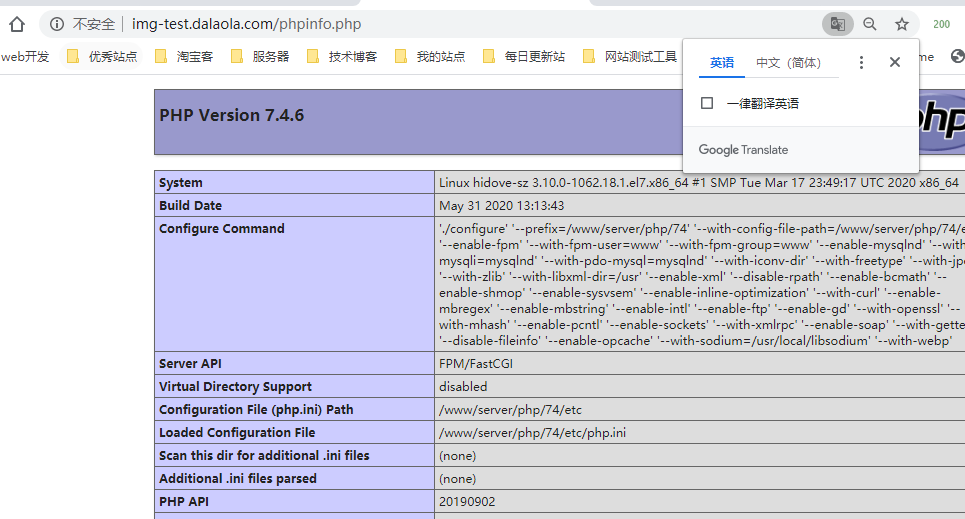
* [ ] 新建一个`php`文件
* [ ] 填写以下代码
```
<?php
echo phpinfo();
```
* [ ] 访问这个文件
> 搜索`gd`,查看是否有`WebP Support`并且是`enabled`状态
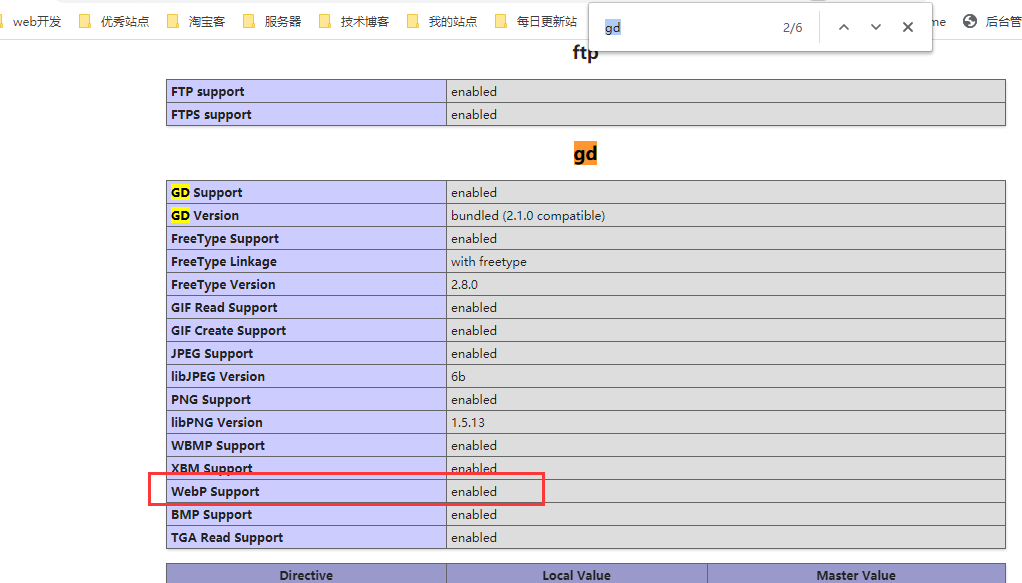
> 有的话那就恭喜你,不用看这篇文章了
> 没有就需要重新编译安装php
## 宝塔
可以卸载原来的PHP版本,然后重新点击安装
安装时,请选择编译安装
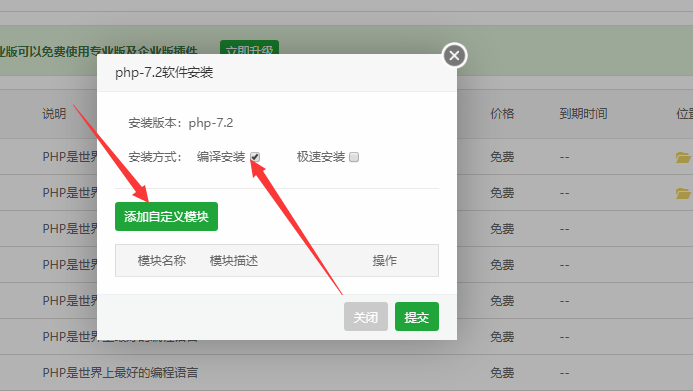
* [ ] 添加自定义模块
```
--with-webp-dir
```
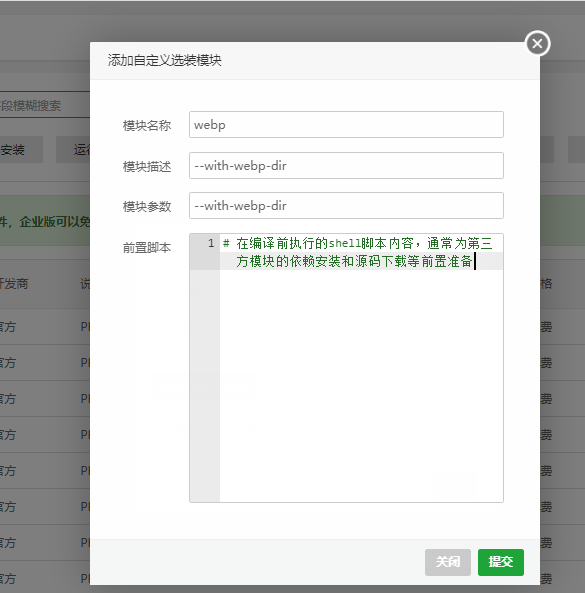
> 点击提交,让其编译安装之后就好了
## 命令行
* [ ] 也差不多
```
cd php-7.x.x/ext/gd
phpize
./configure --with-webp-dir --with-freetype-dir --with-jpeg-dir --with-png-dir --with-xpm-dir
make
```
### 参考
[https://www.jianshu.com/p/46c530400955](https://www.jianshu.com/p/46c530400955)
[https://www.php.net/manual/en/image.installation.php](https://www.php.net/manual/en/image.installation.php)
